Boomerangs are originally native to Australia, where it has been used by the aboriginals for hunting in the years gone by; nowadays this contraption is used more as a sport and for entertainment in general. We will now begin an easy pictorial origami guide on how to make your very own paper boomerang.
Step-by-step instructions to make a boomerang out of paper
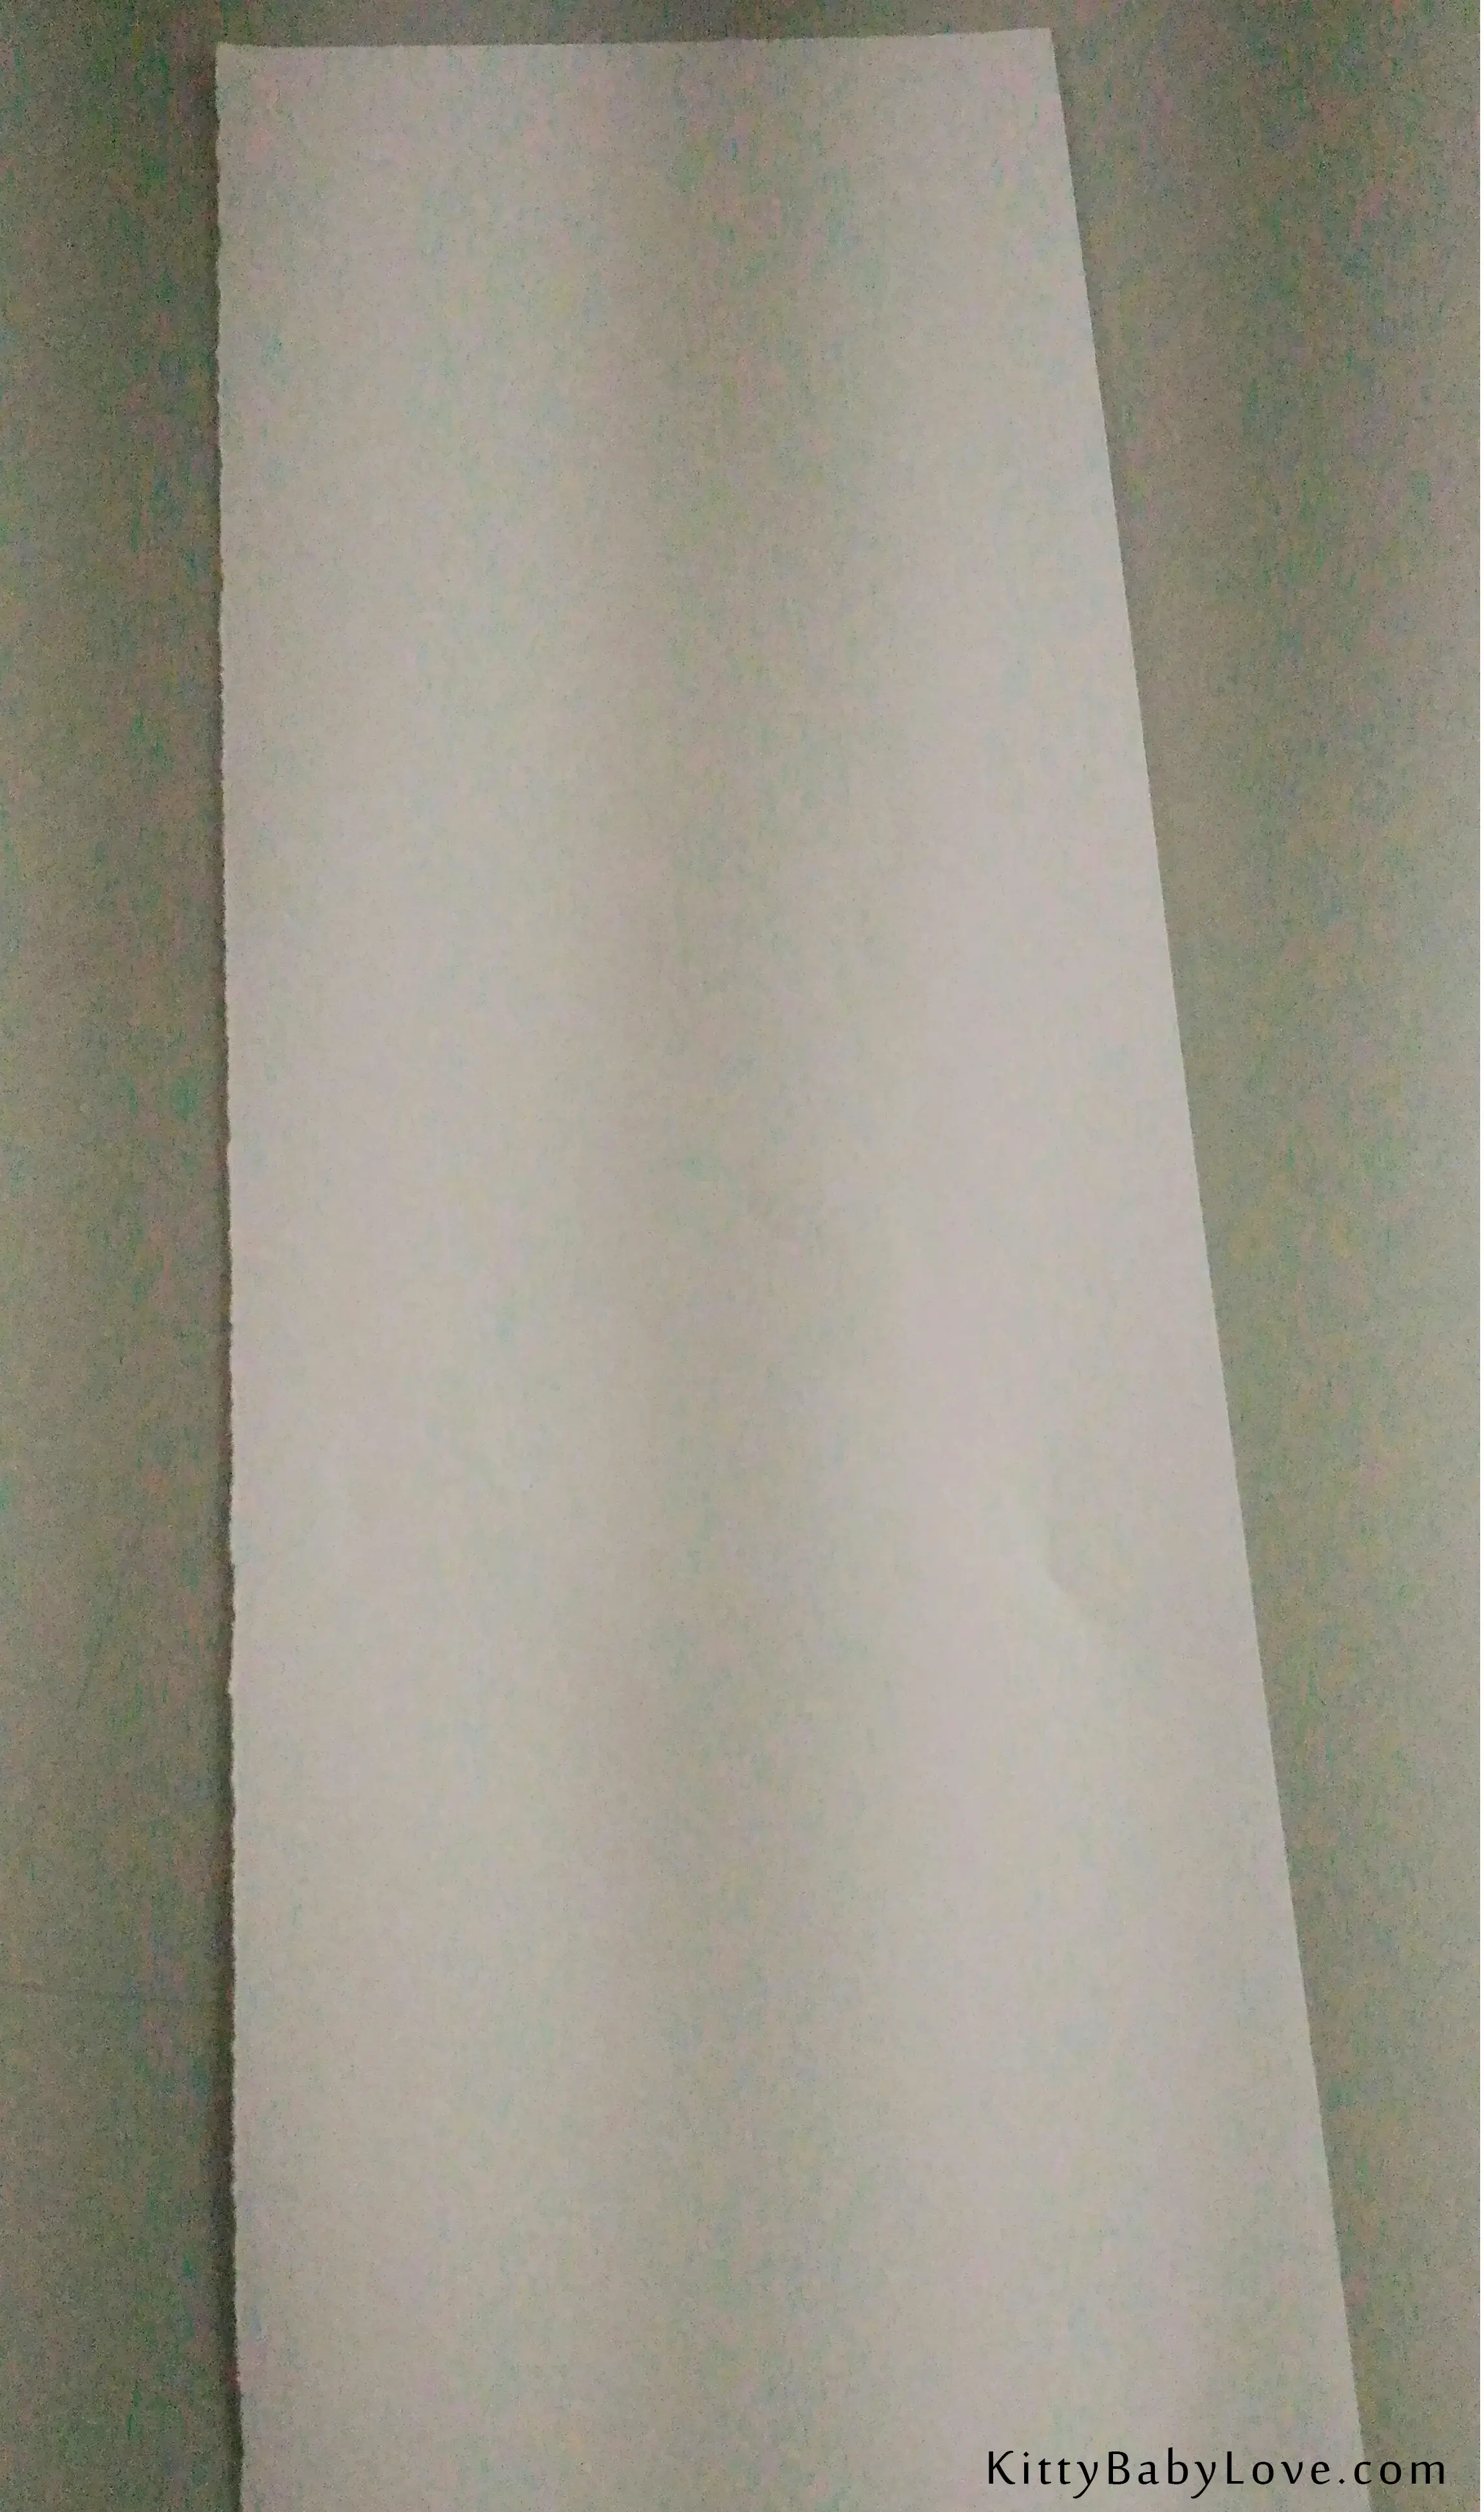
1. The first and only thing that we’re going to need is one A4 sized paper, which is the most common size of paper used for printers, get hold of one and move on to the next step.
2. Cut the paper vertically right down the middle, we are going to need only one of these halves.
3. Take the chosen half and fold it right down the middle on its vertical axis. Fold such that the crease gets well pronounced and unfold it.
4. Now fold both sides of the halves such that the folds culminate not closer than 1 millimeter from the middle. Since we are going to fold the paper again in a few steps, leaving this will ensure that the folds do not overlap.

5. Now we’ll fold the paper halfway down its horizontal axis so that the top half meets with the bottom half on the inside. We need to crease well while we’re at it.

6. Fold both the top right and left corners of the paper to the center. Again, make sure to put in the creases judiciously. Now unfold and do an inside reverse fold on the crease made by the last fold.
7. We’ll now unfold the paper along the horizontal axis and turn it on its side.
8. This step will require us to unfold the bottom half of the paper.
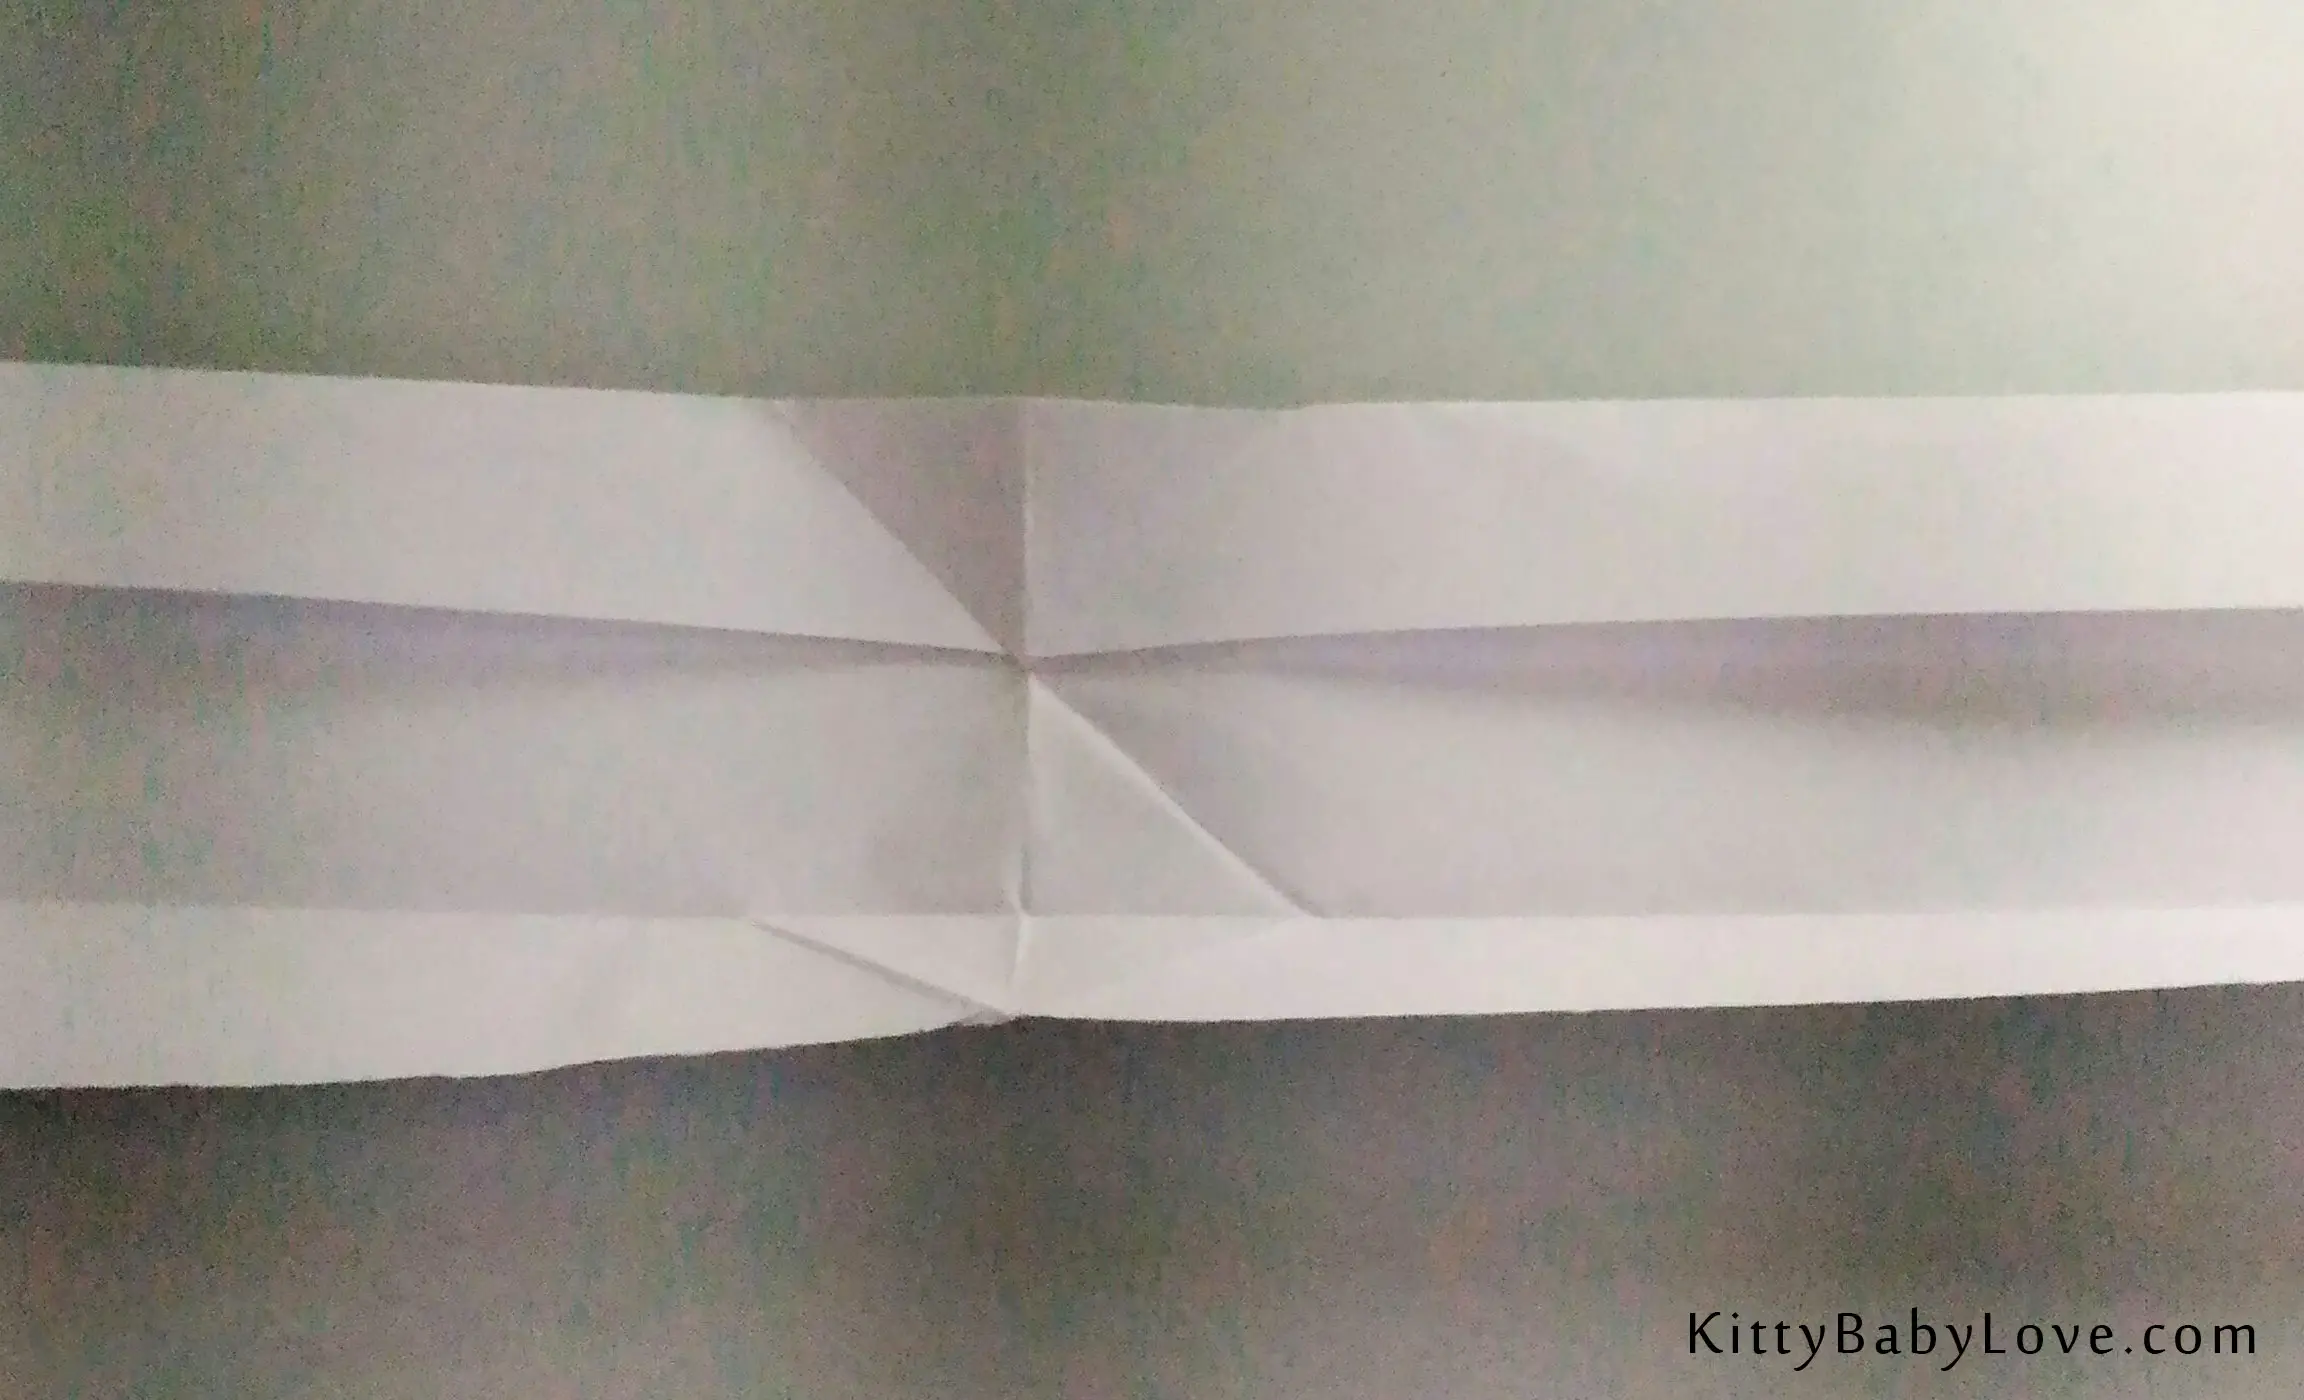
9. We’re going to focus on the center of the paper for these next couple of steps, this step will involve making a mountain fold along the vertical diagonal of the diamond shape we see in front of us.
10. Now make four valley folds along the four sides of the diamond. Creasing well will make the next few steps much easier.
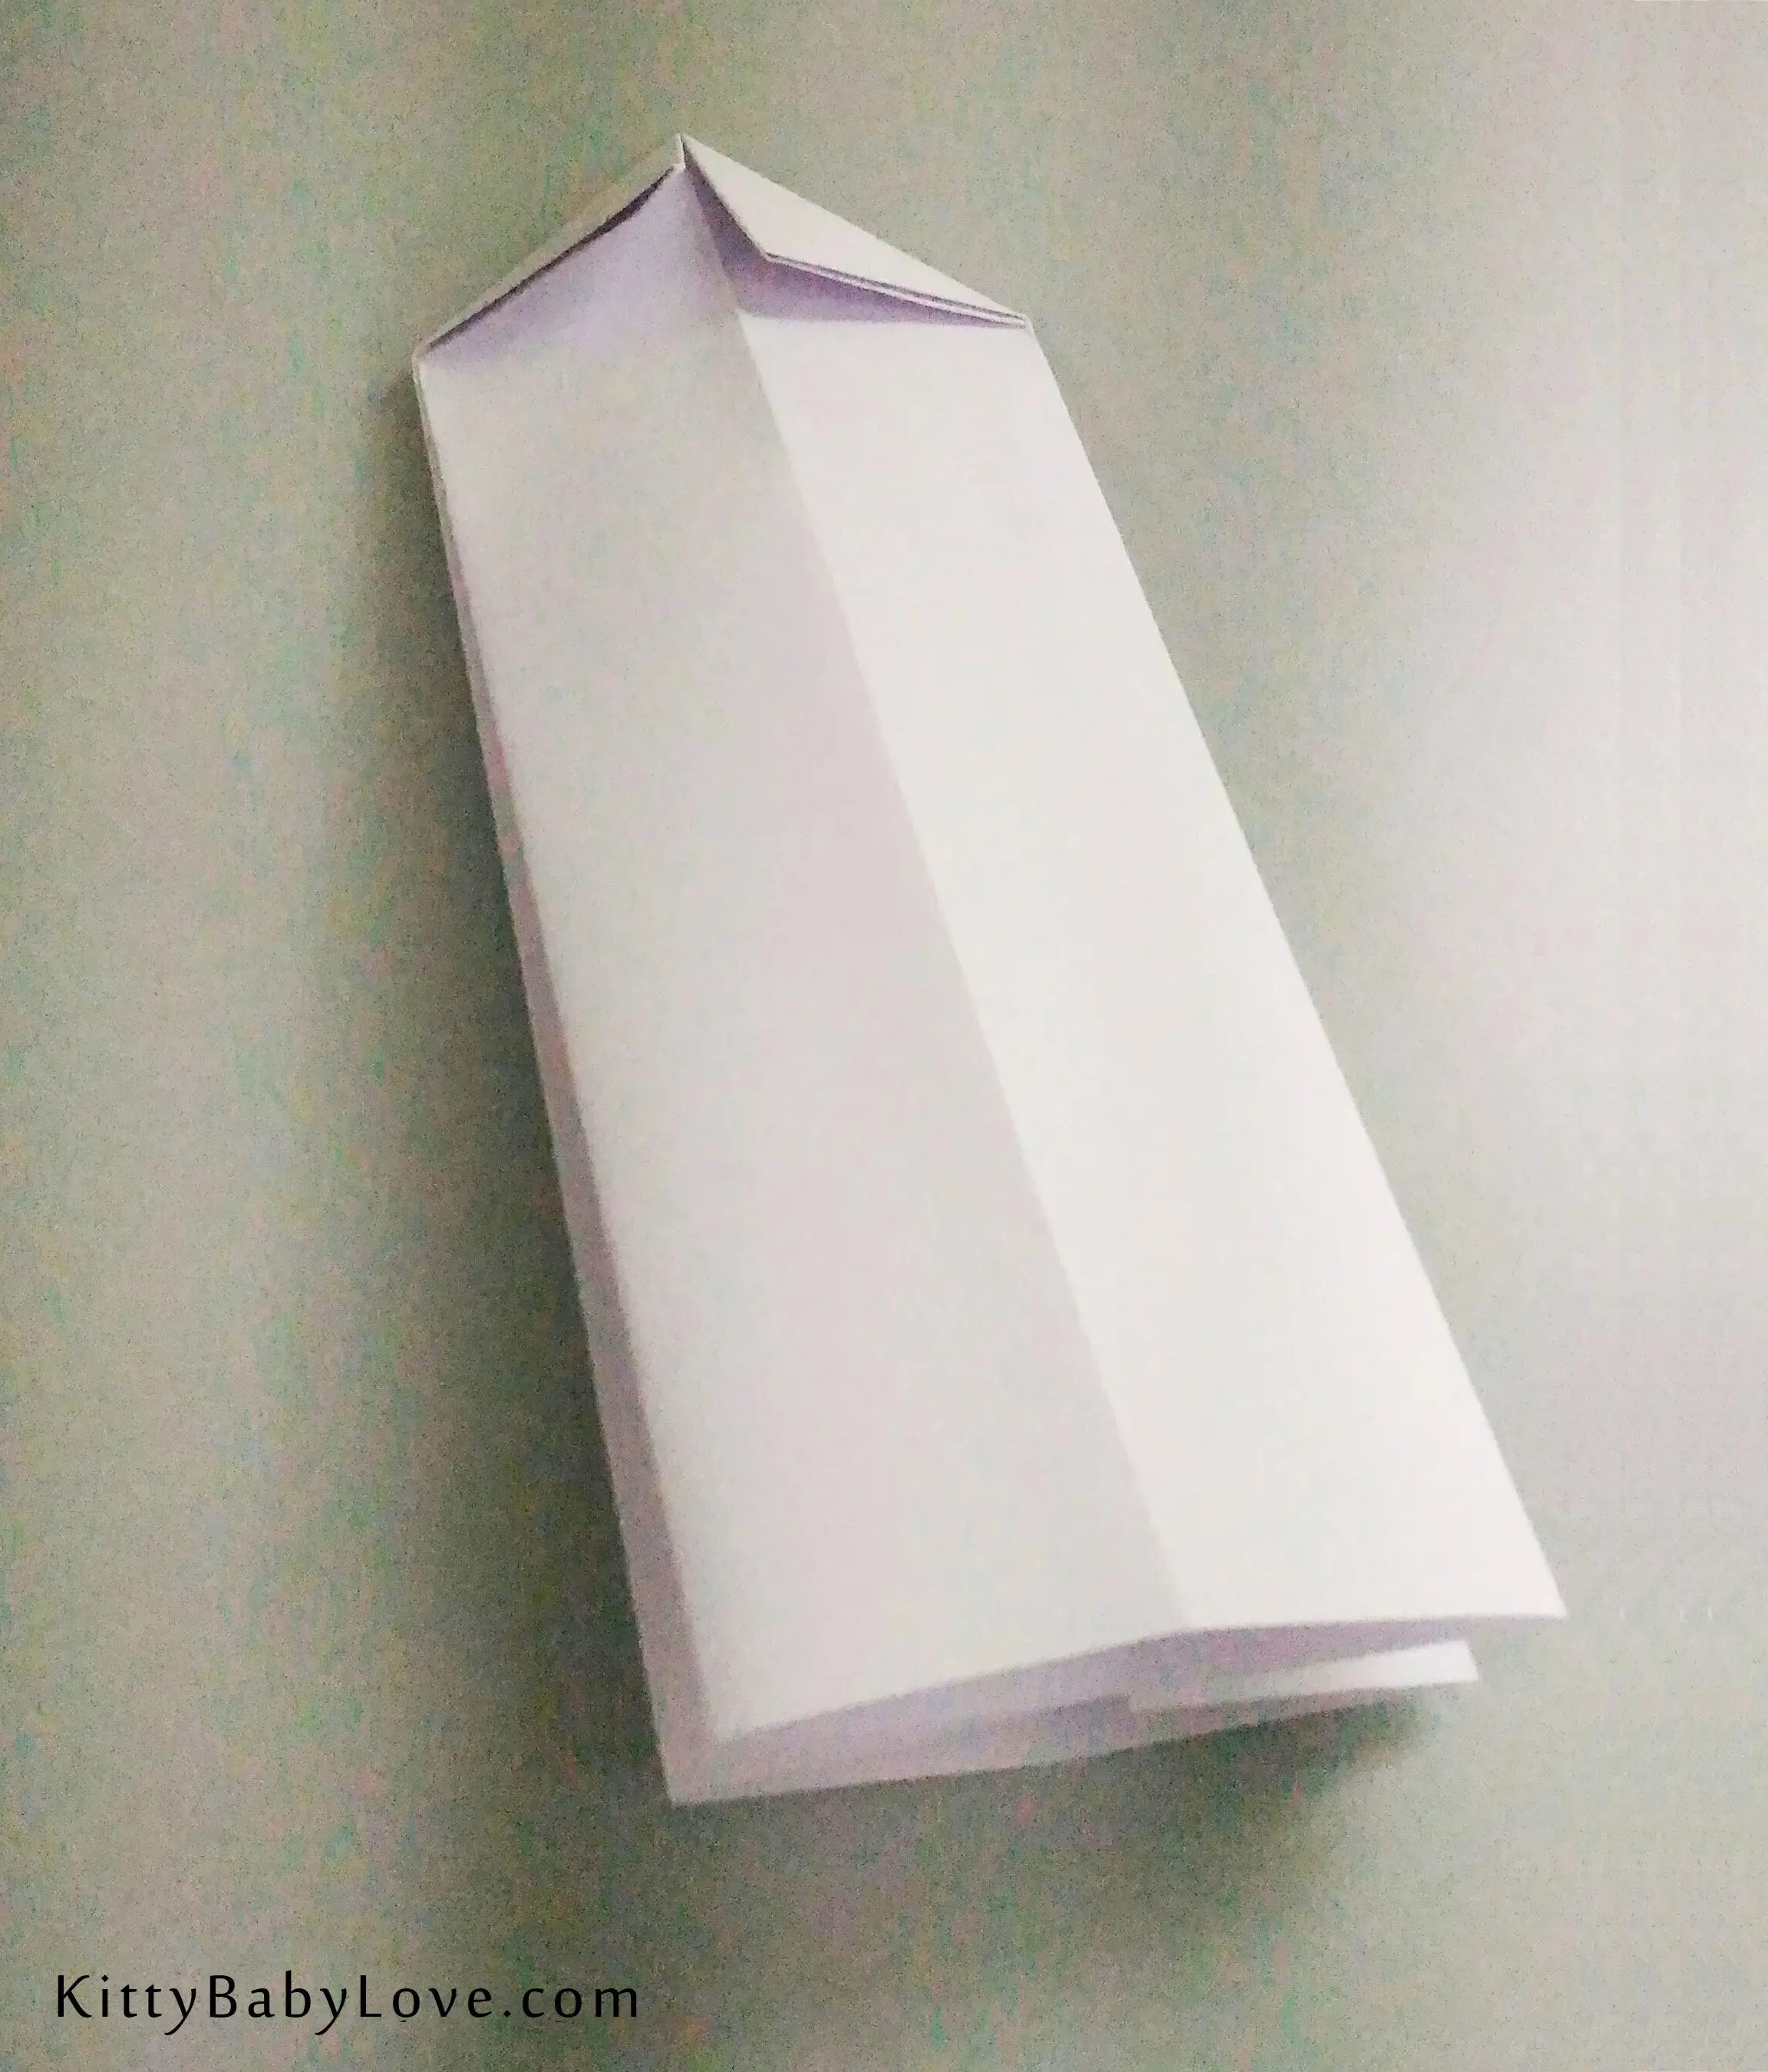
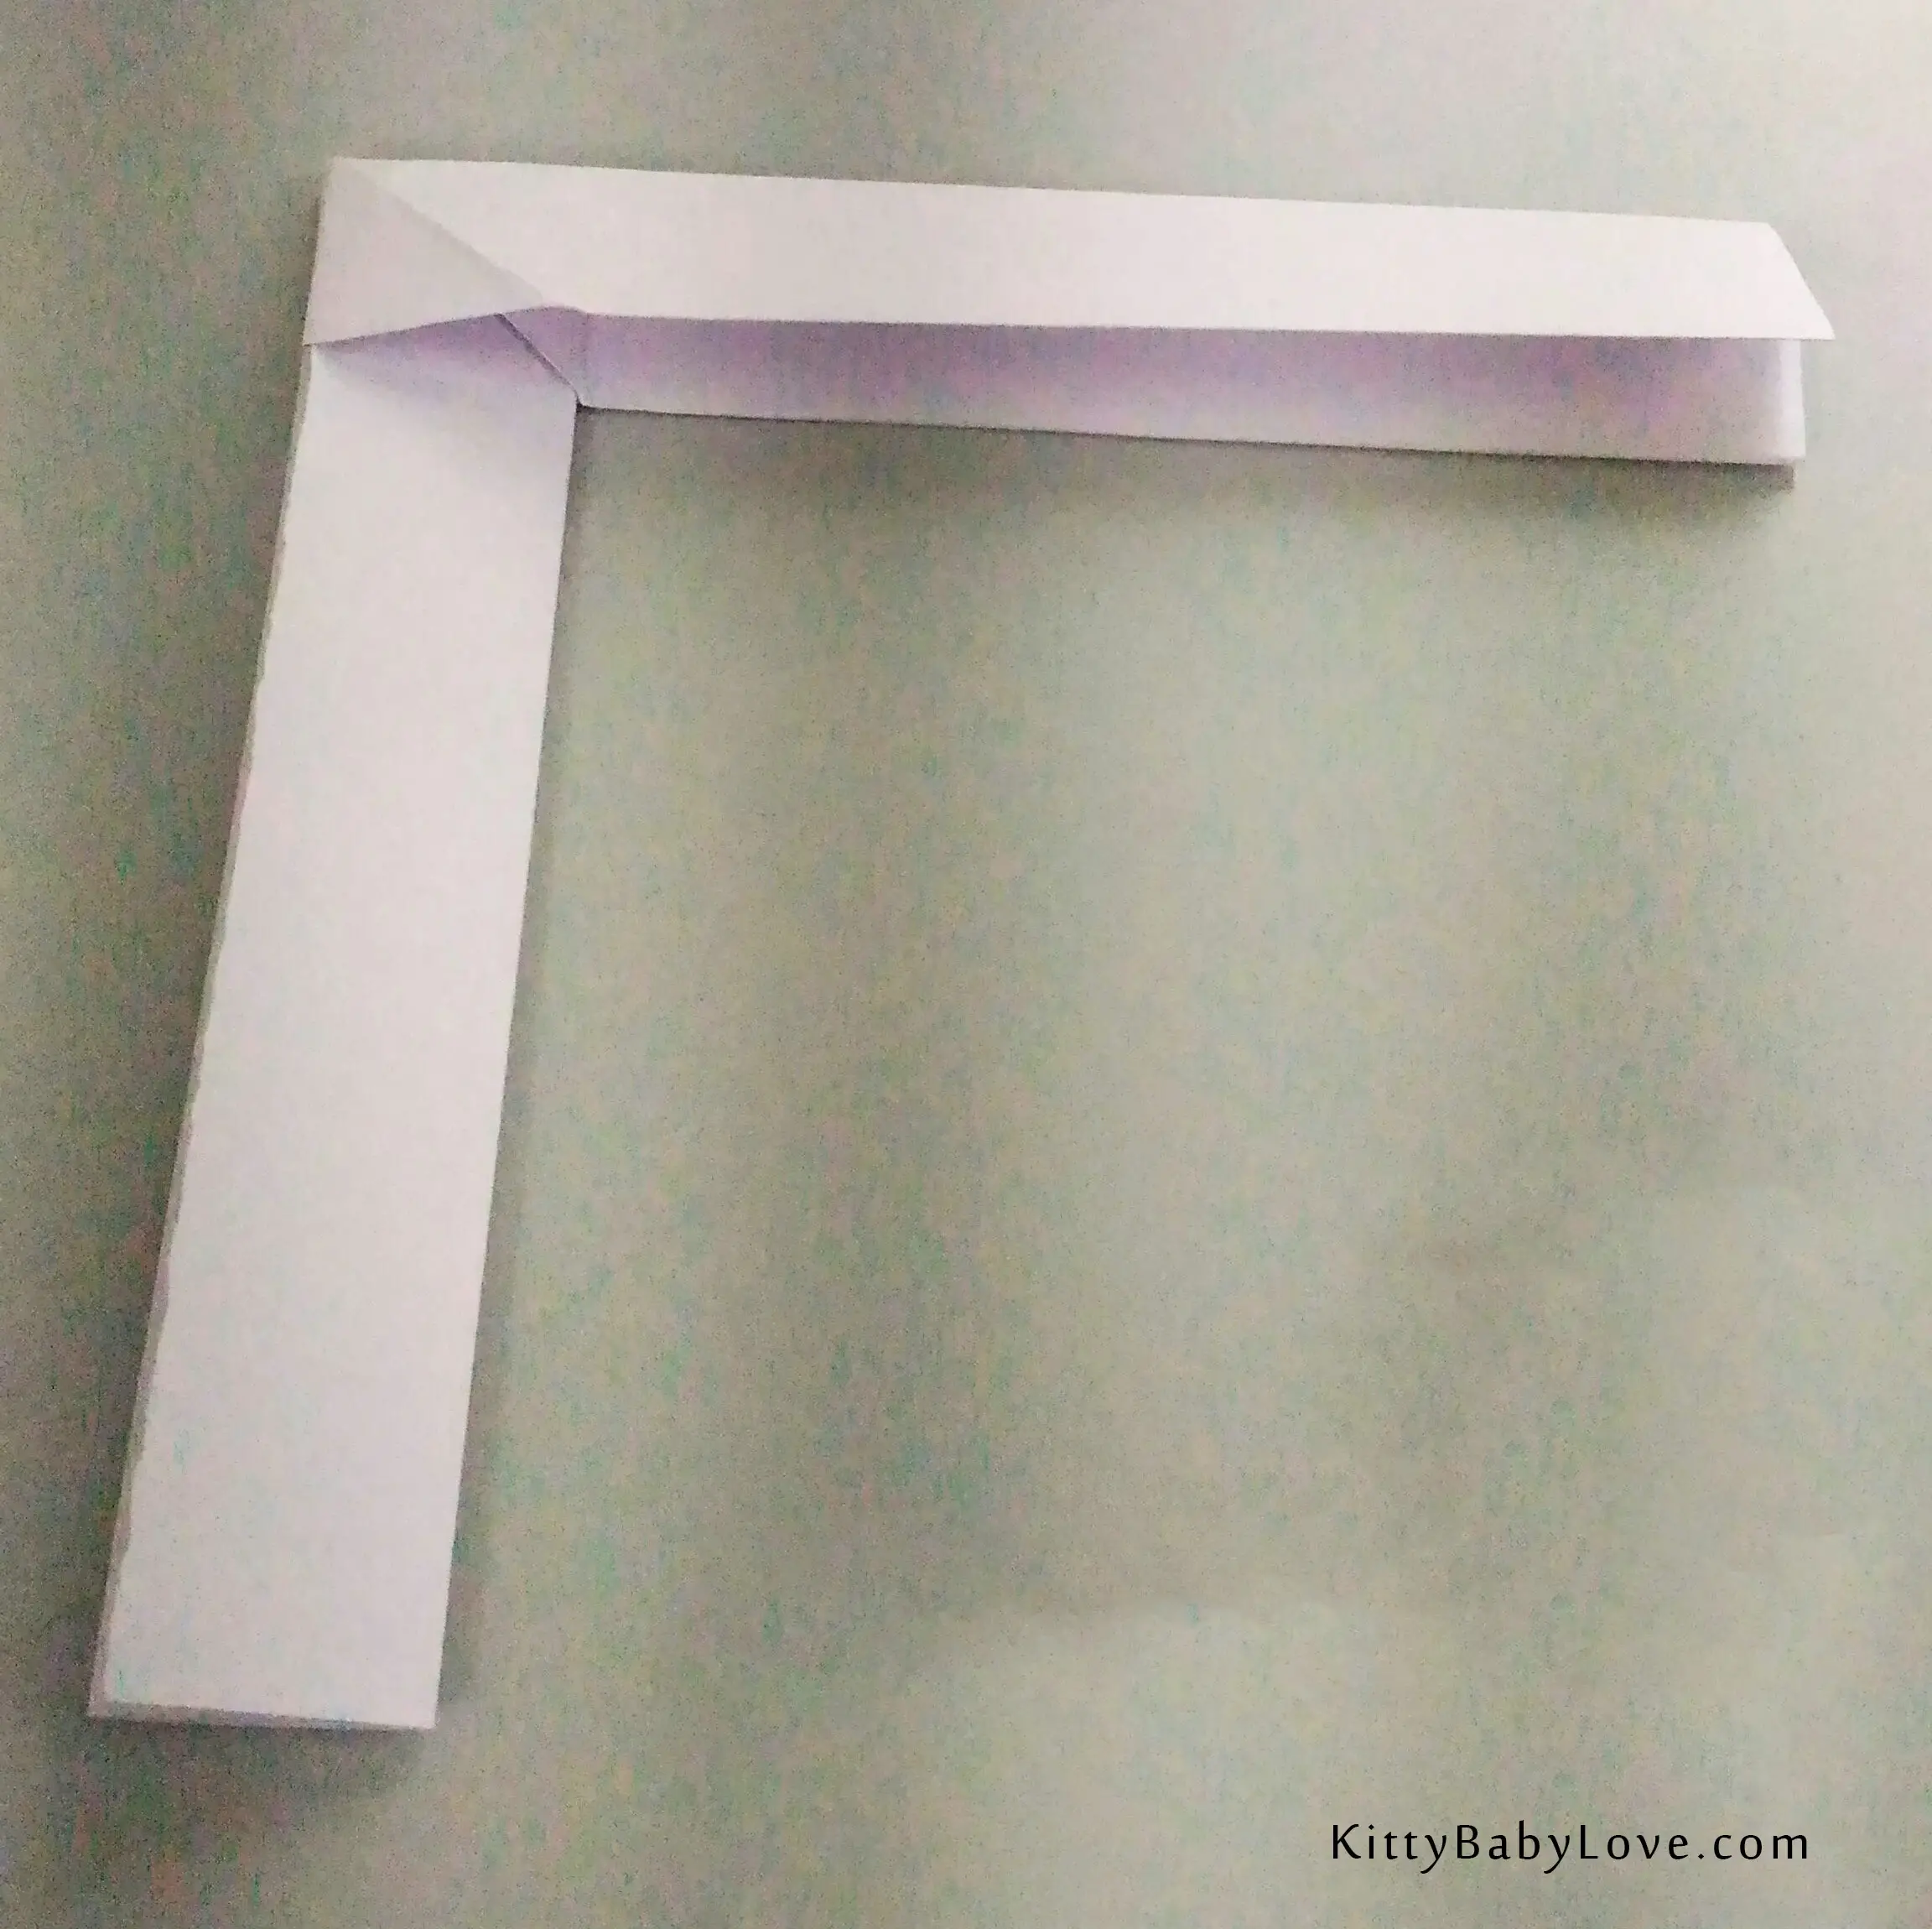
11. This step will require us to take our thumb and close the fold on the right side of the bottom half of the still horizontal paper. Now we have a more pronounced diamond shape in the middle which we need to squash it such that the bottom corner of the diamond is up against the right half of the paper, we have now got the paper in an L-shape.
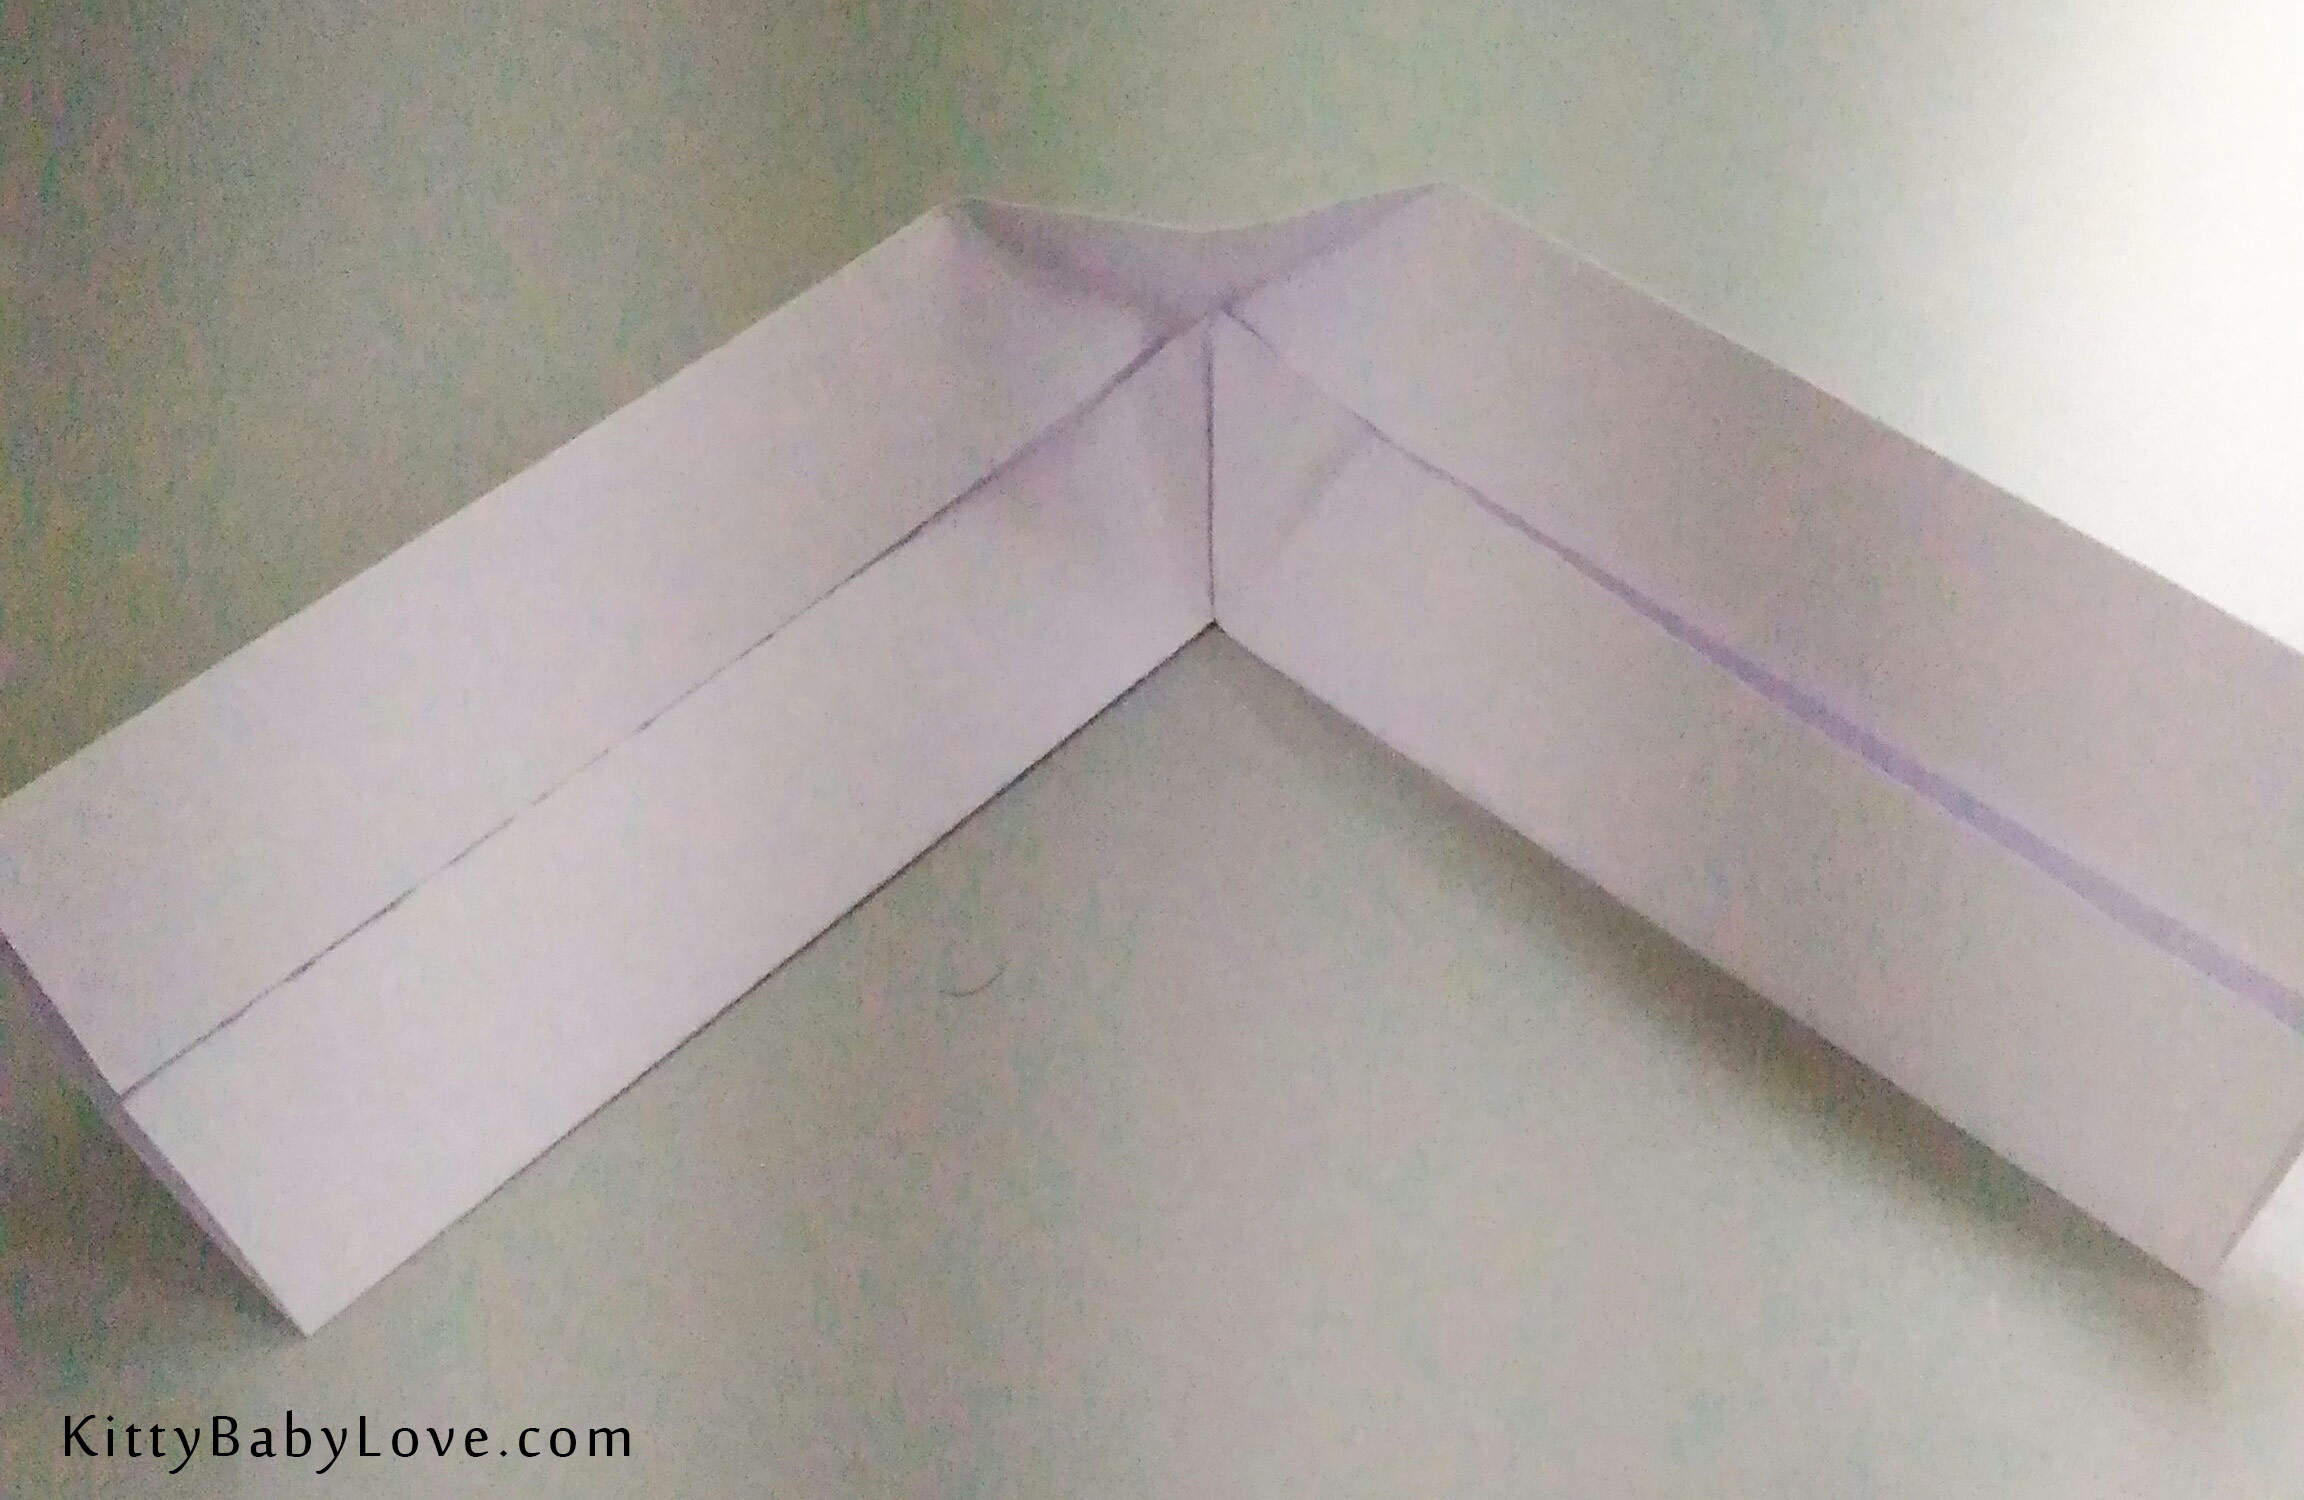
12. We will now fold the upper-half of the underside of the L, and tuck the inside corner that is jutting out into the pocket at the convergence point of the L.
13. Now we must take the left side of the model and fold the upper edge down. Once that is done we will have a pocket in the middle that would look like a mountain. Now we will fold the upper edge of the right side of the paper as well, and as we do, we will squash the mountain to the left side, forming another little pocket.
14. We will now unfold the bottom half of the left side of the paper and lift up the corner we had tucked in previously.
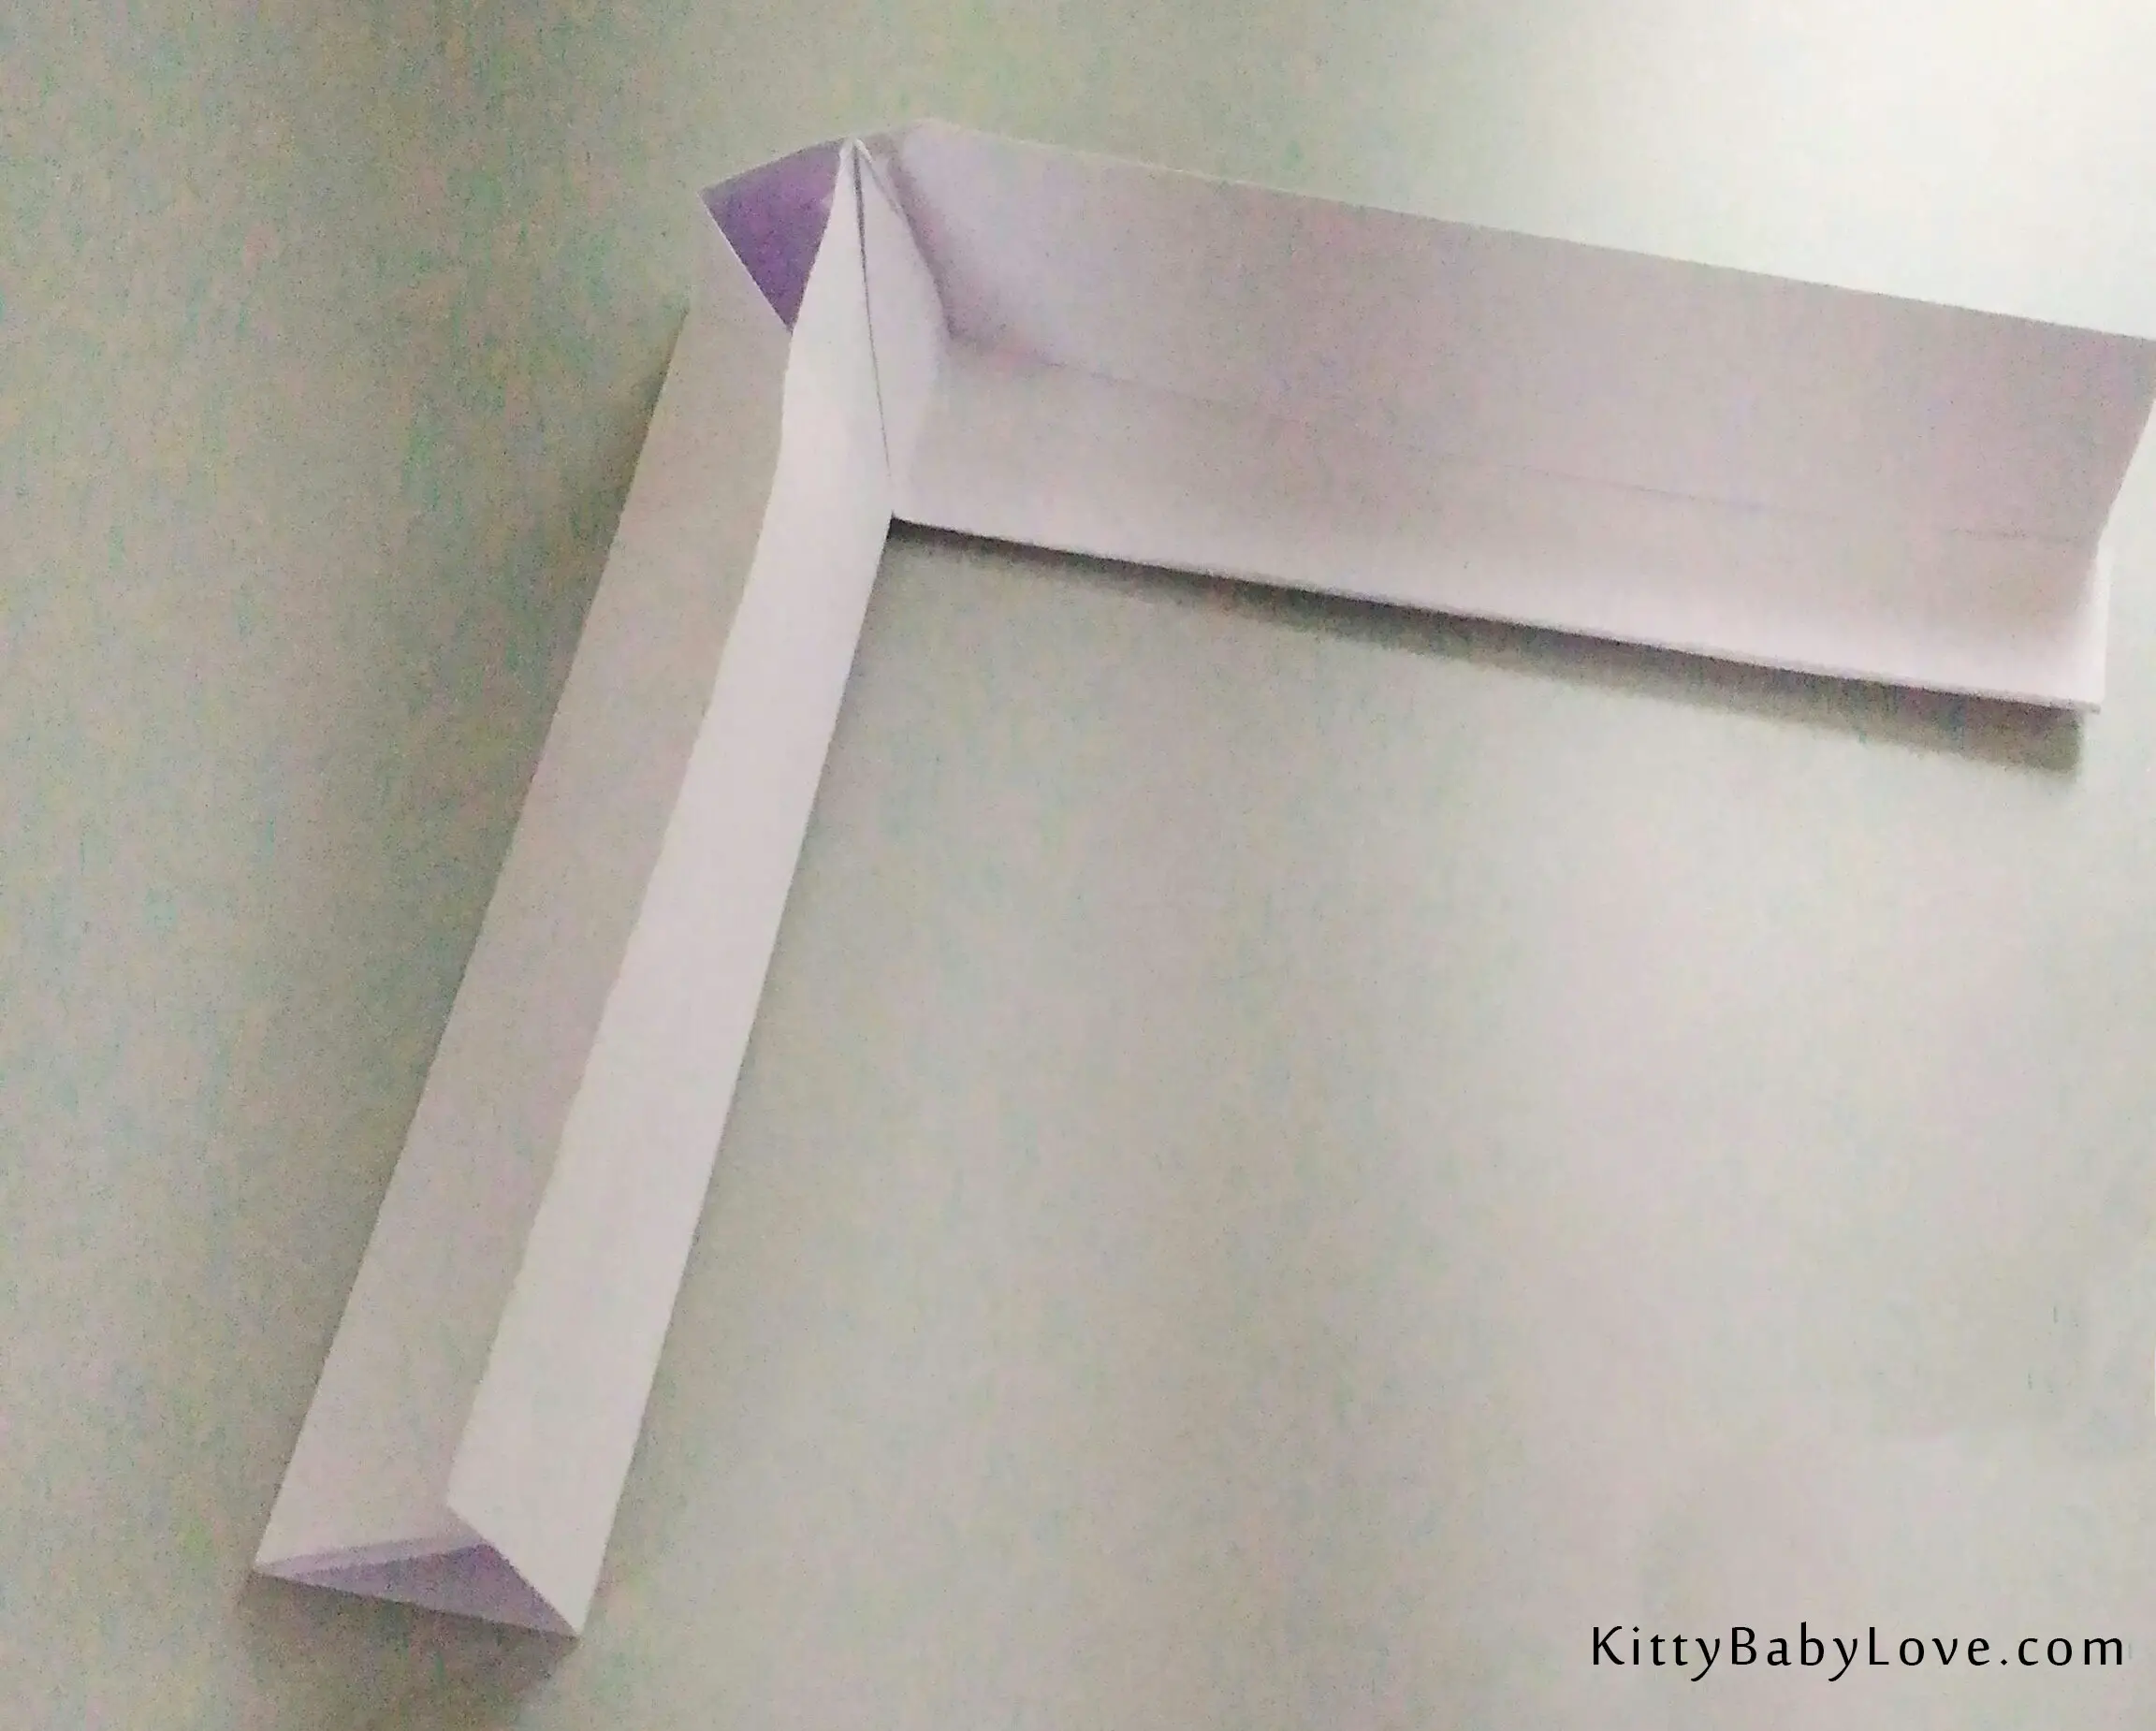
15. Now fold down the upper edge of the left-hand side of the paper, and you will get another pocket; fold down the still lifted bottom half of the paper, tucking the corner into this pocket and close the top down. Make sure everything is folded and creased nicely.
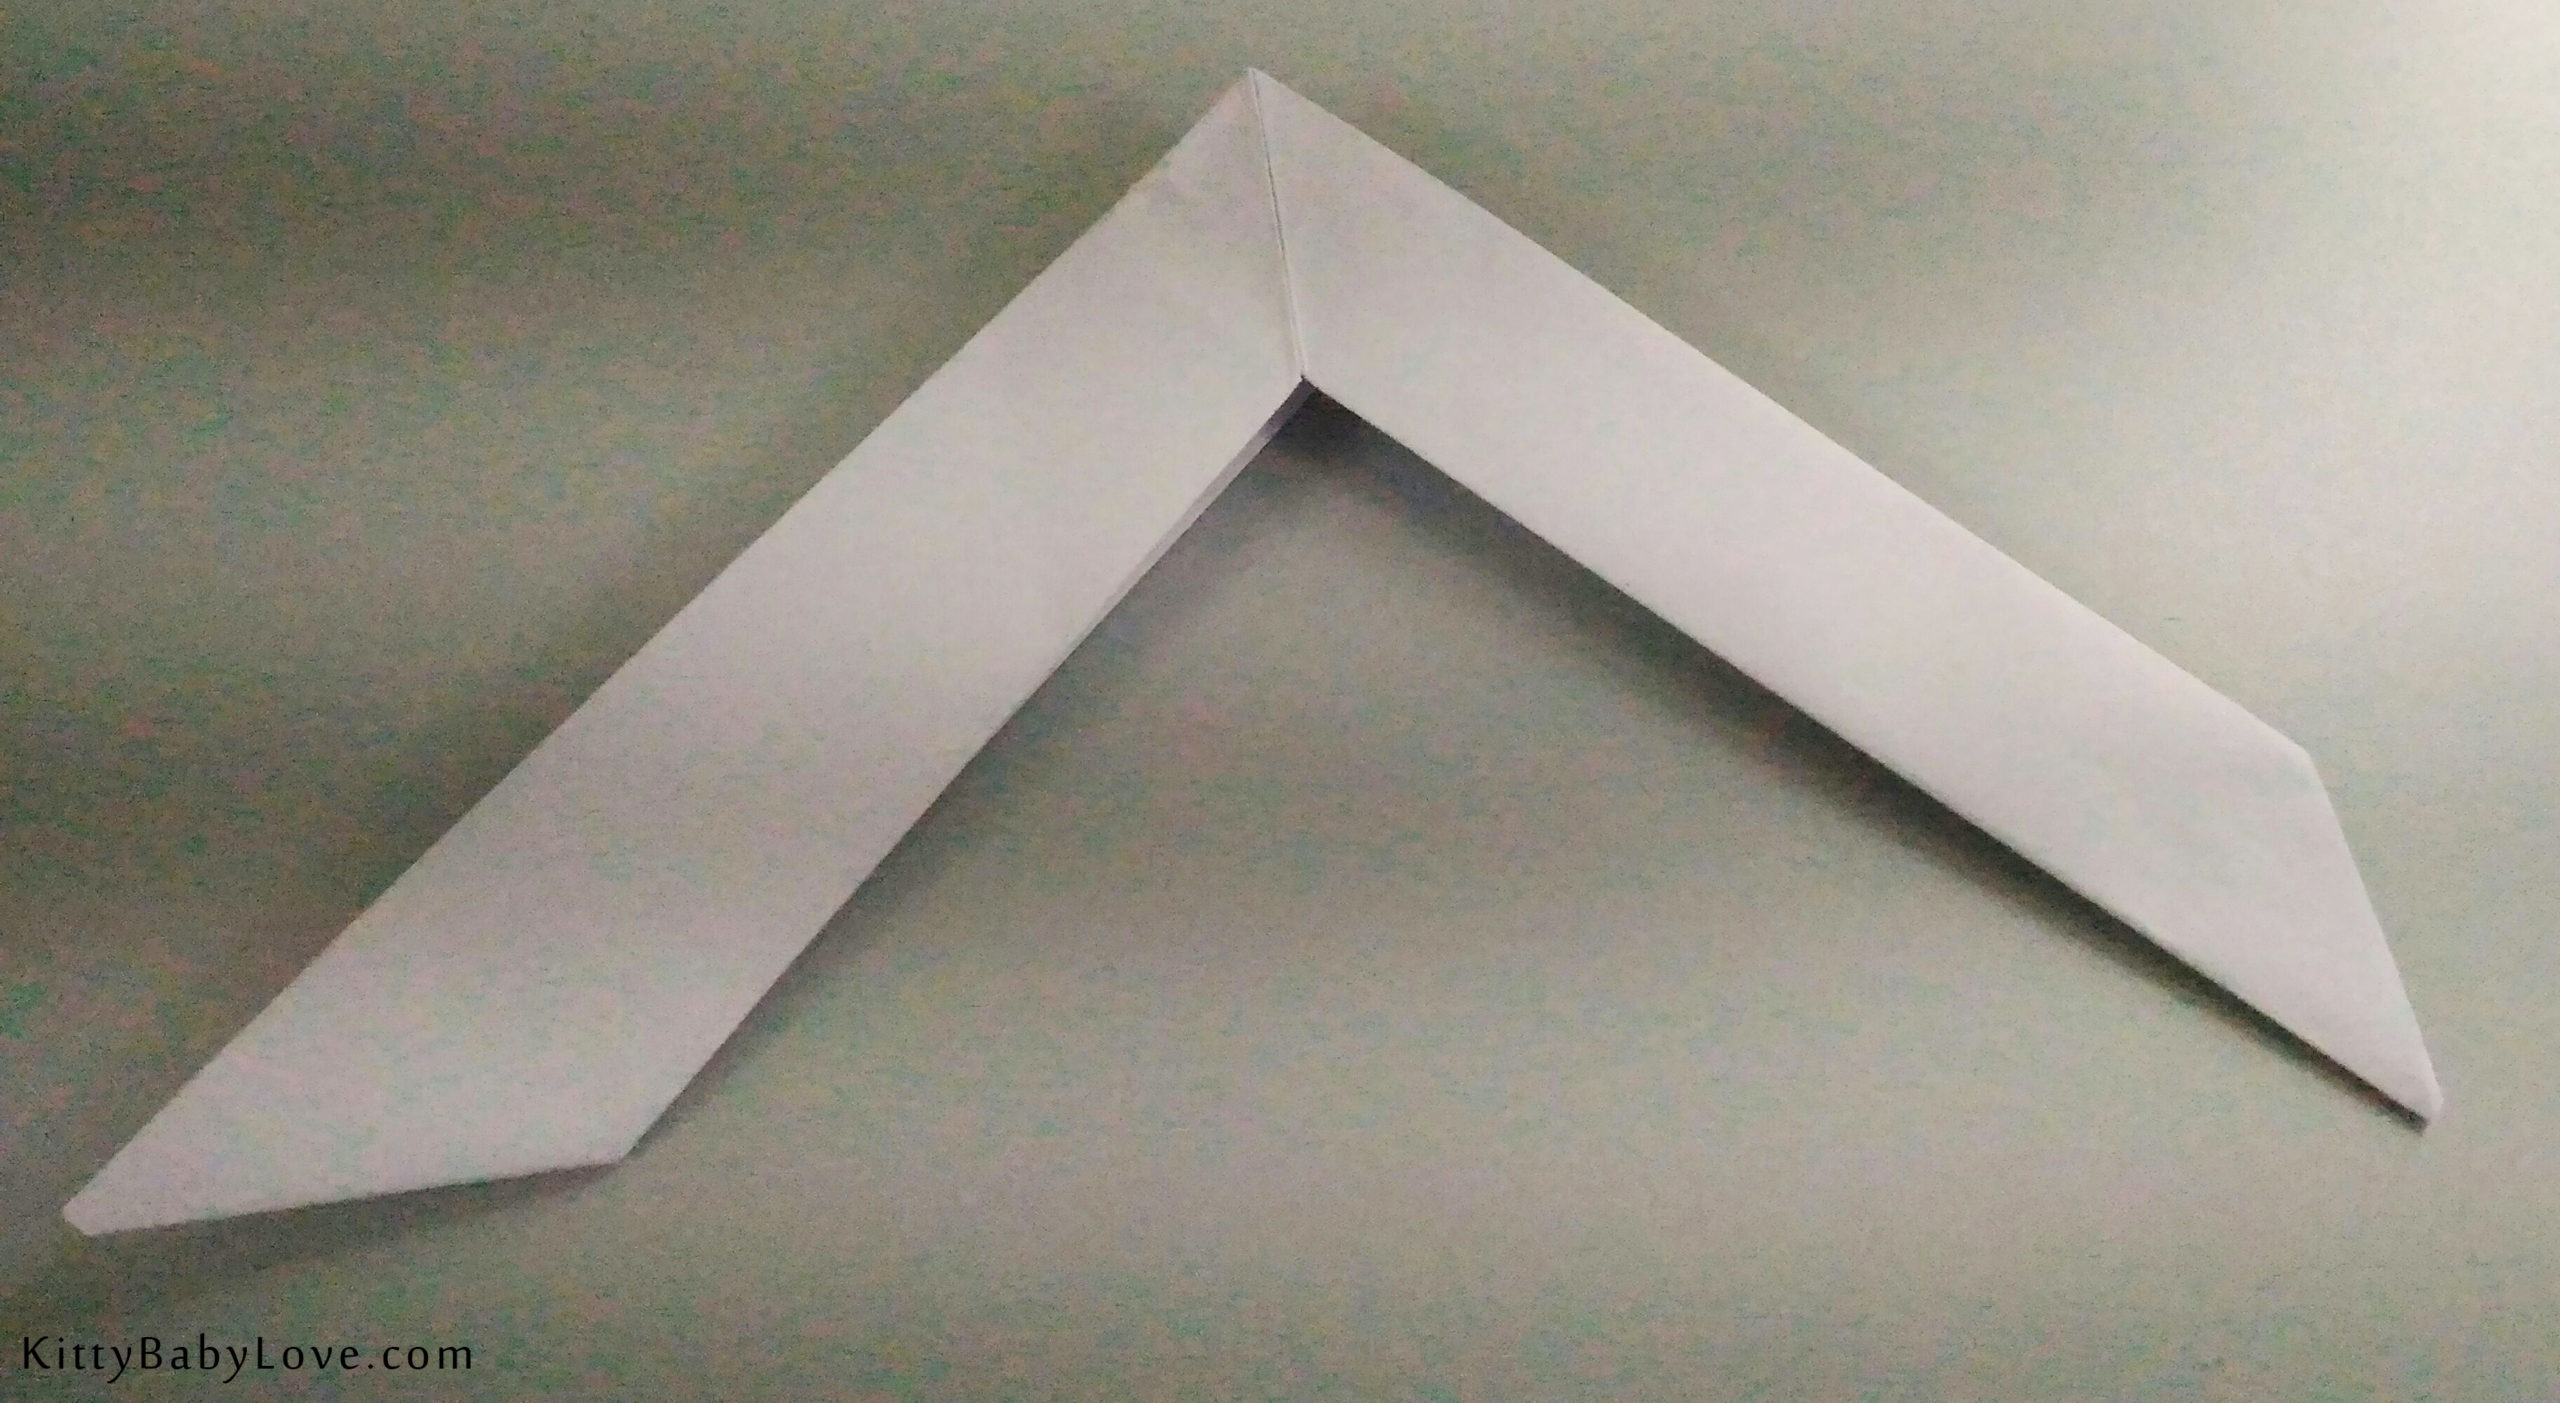
16. Take the outside of the right-hand side of the paper and unfold it just enough so that we can fold the two corners towards one another, once we are done doing that, we will open the inside corner and make an inside reverse fold creating a pocket and tuck the other corner into this pocket.

17. Now we will repeat the last step for the left-hand side of the paper. Once we have tucked the outside corner into the pocket created with the inside corner, crease well once we have completed doing this.

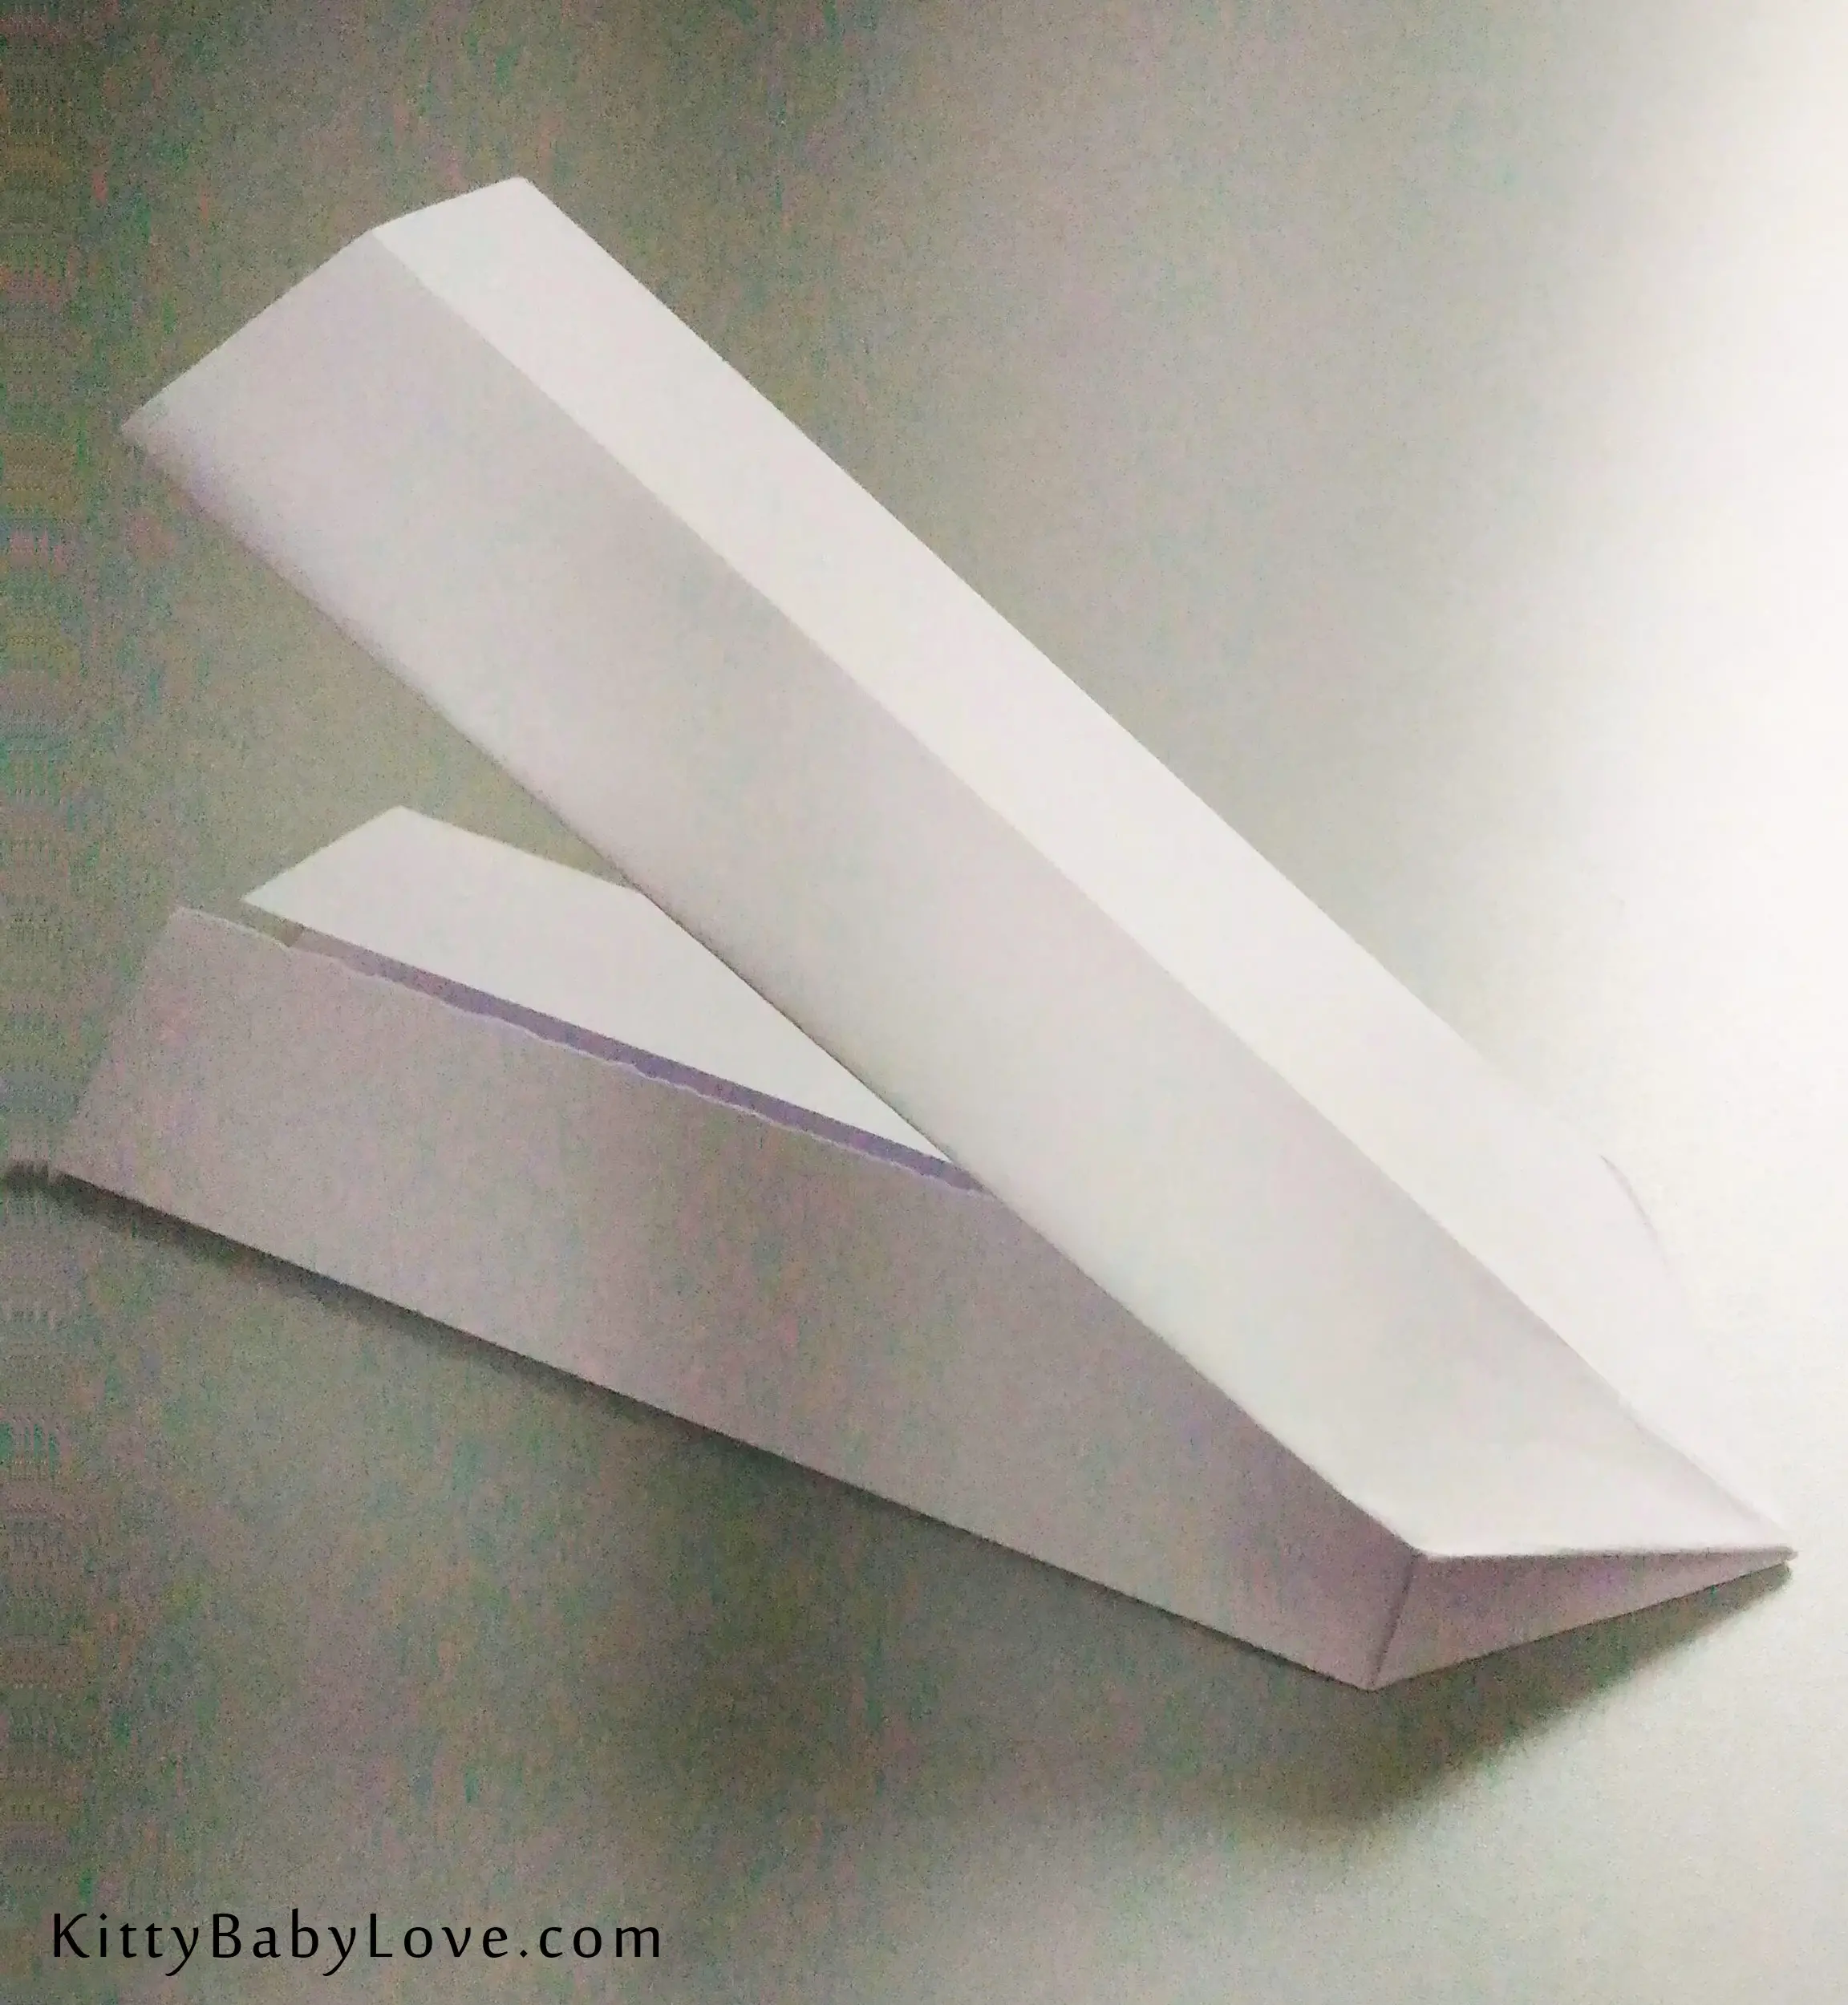
This completes your boomerang, to throw it well and get it to return to you will require you to hold it in the middle with your index finger and thumb and use your wrist and not your arm, like throwing a flying disc, and throwing it upwards and away from you.