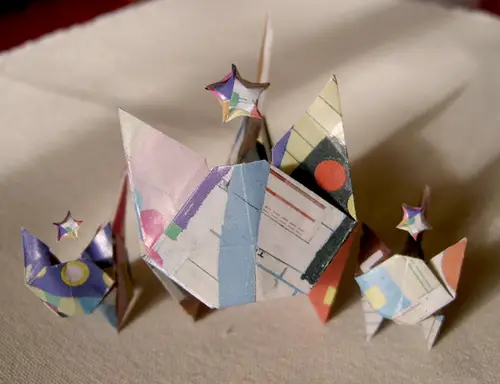

To keep in theme with *Kitty* Baby Love, we are including a free kitten with every purchase. They are tiny things, much smaller than the one in this tutorial. Use the following tutorial to make a family for yourself or to make siblings and parents for your new kitty =^_^=
Cost : $
Time : 5-10 min.
Difficulty : Medium
Making the Origami Paper
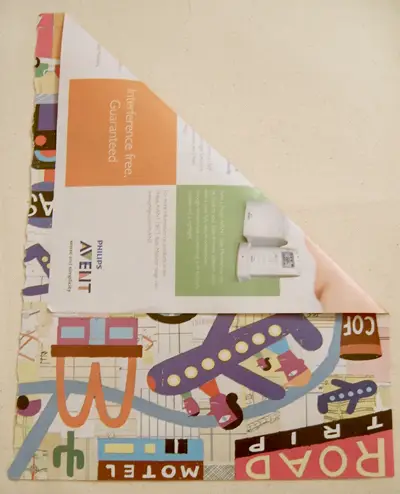
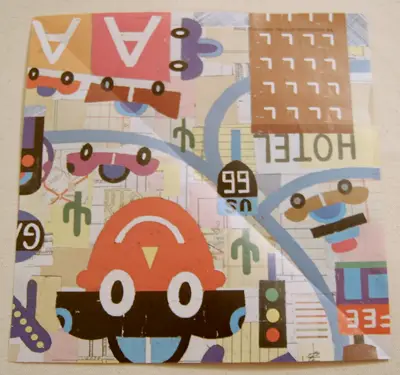
1. Find a piece of paper. Not a square? No problem. For this tutorial I used a page out of a magazine.

2. Fold a corner into the page. It really doesn’t matter how you do it.
Tip : For less cutting, fold it so that it aligns along a straight edge of the page. (I couldn’t do that because one side of my paper is torn.)
3. Cut away the part of the page that is still visible.
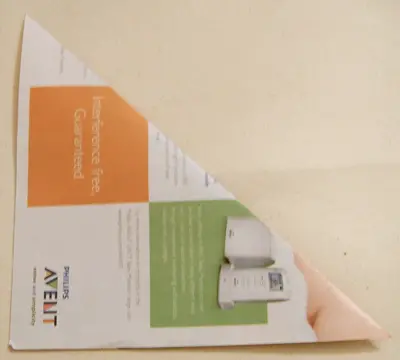
4. Unfold and Viola! Perfect square.
The Main Show: Origami Kitty
* The illustrated side will be the “right” side of my origami kitty. The “right” side is the side that shows when the kitty is completed. For a typical origami paper this means the colored side of the paper you are using.
5. Start on the “wrong” side and fold in a diagonal (already creased if you made the square in steps 1-5).
6. Fold as shown in the picture.
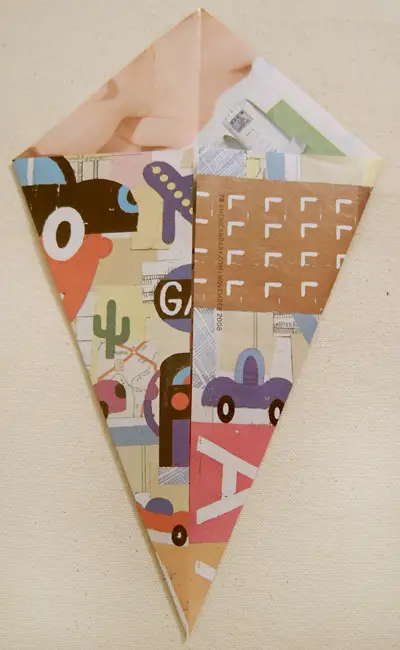
* note the “right” side and “wrong” side
7. Keep going…
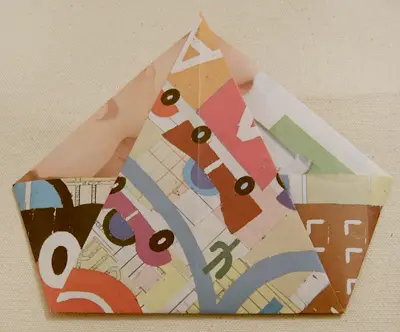
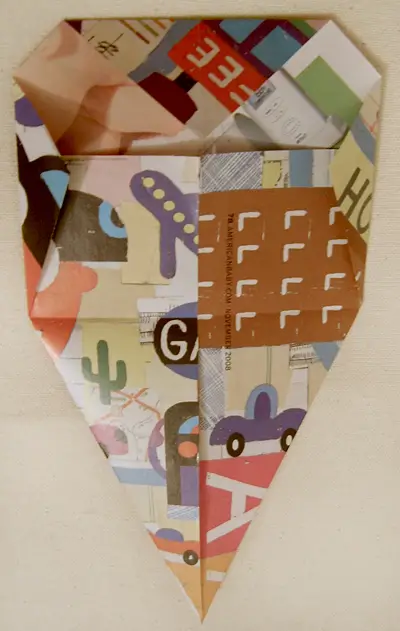
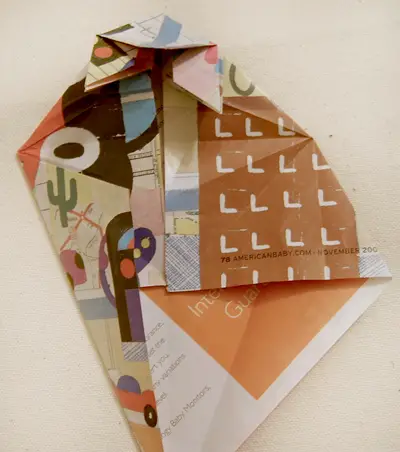
8. Fold corners into edge.
9. Unfold step 7. Fold opposite tip in as shown.
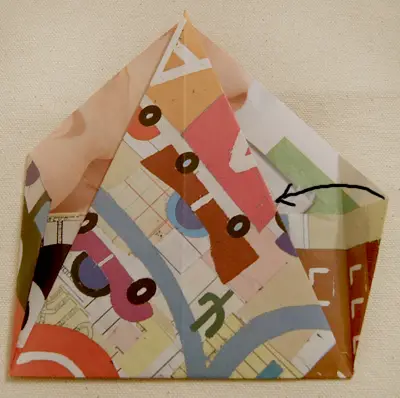
10. Fold along dotted edge. Unfold. Repeat on opposite side.
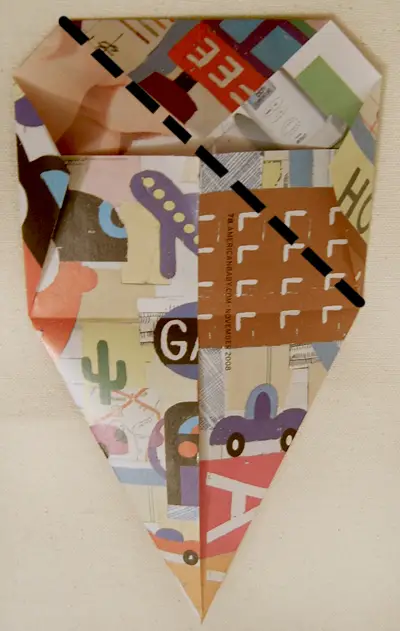
* First fold along this dotted edge, then unfold…
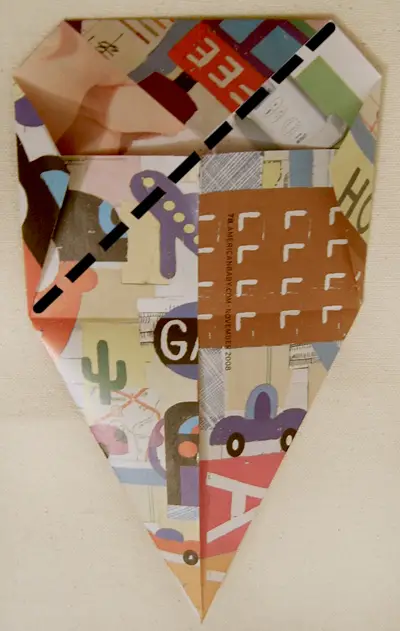
* then fold along this dotted edge, and unfold.
11. Squash corners into centerline as shown. This should happen naturally from the creases made in step 10.
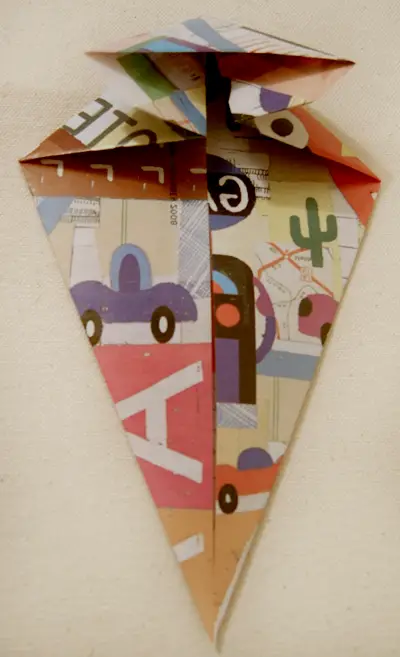
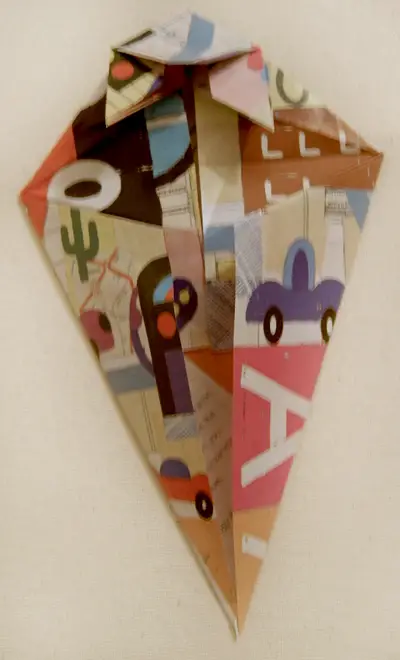
Creating the Head
12. Fold as shown.

* Bottom corners fold into a corner as shown. Top does not fold into corner- there is no real guide to this. The top part will be the upper head of the kitty; it can be as skinny or fat as you like.
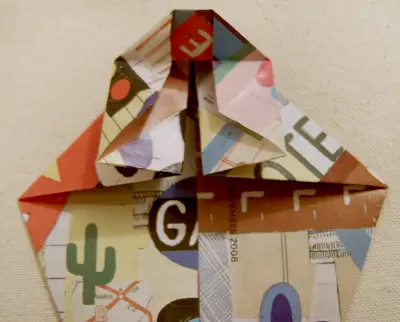
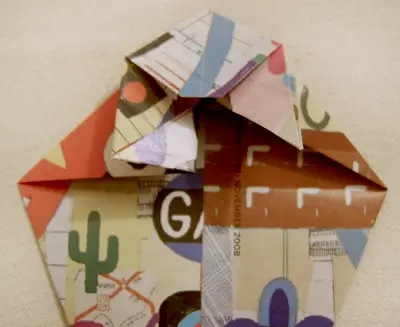
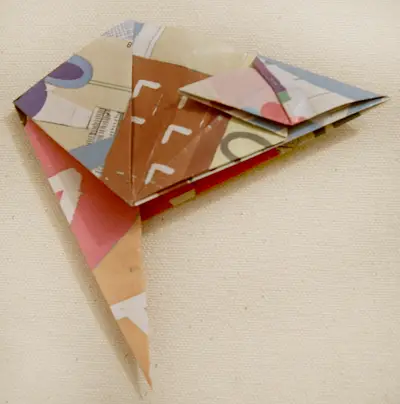
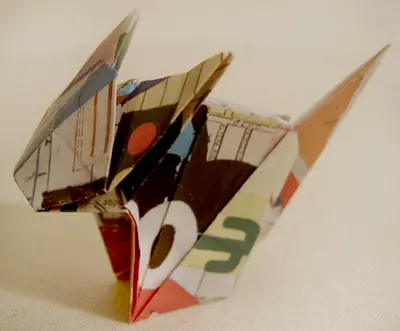
Creating the Ears
13. Open the flap to the left (as shown).
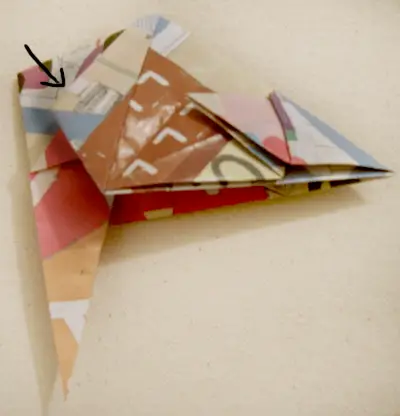
14. Fold flap upwards as such. Unfold. Repeat on other side.

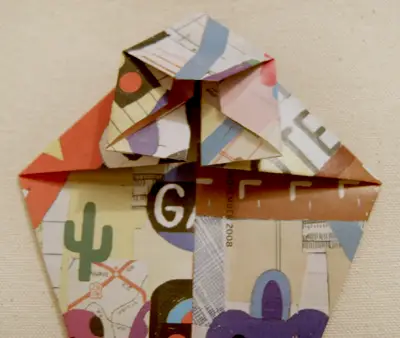
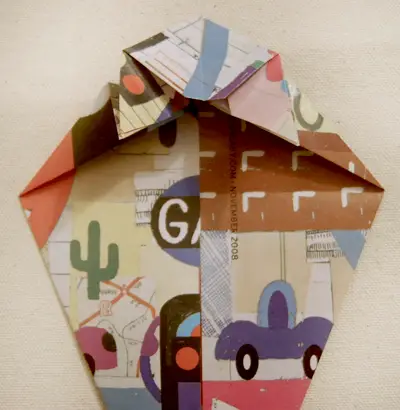
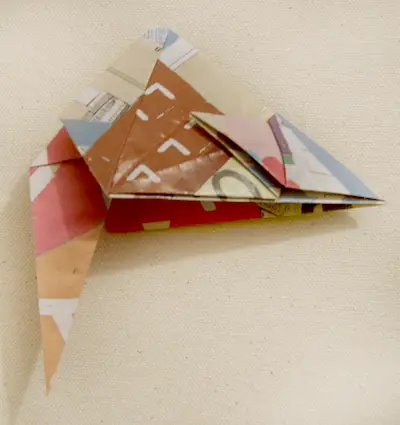
15. Open back to center. Squash the part you just folded in step 14 inward to form the ear.
16. Repeat on other side.
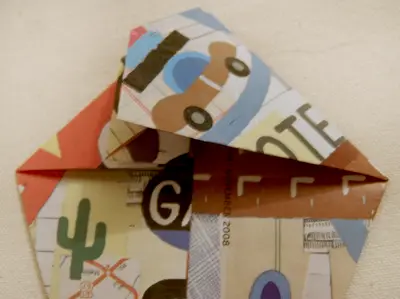
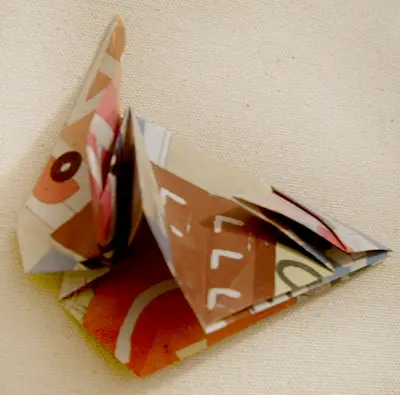
Time for the Body
17. Now the tricky part! Holding the tip of the ear you just made, pull out the paper as shown.
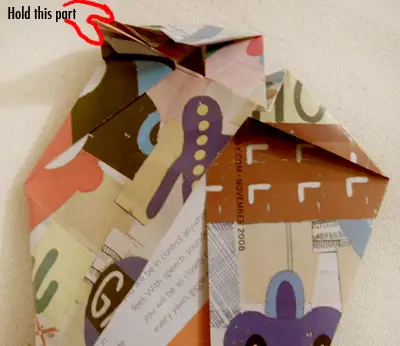
* start carefully pulling out
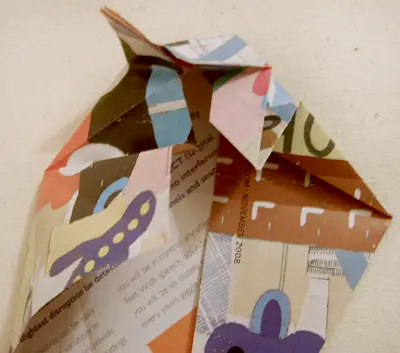
* keep pulling…

* you did it!
18. Repeat on other side.

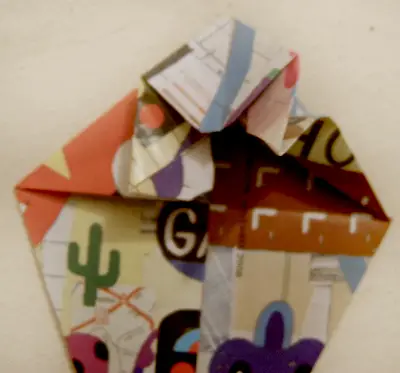
19. Fold into centerline as shown. Repeat on both sides.
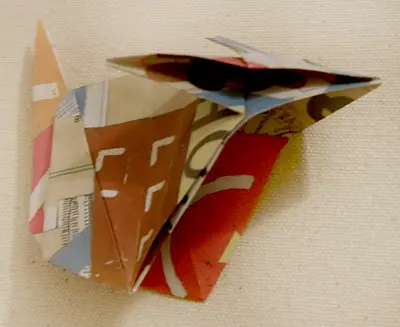
Kitty Hindquarters
20. I turned the piece 90 degrees clockwise. Fold in half on centerline.
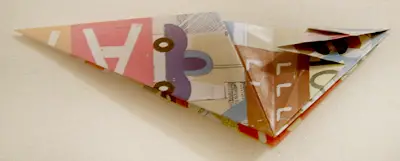
21. Fold inward at point.
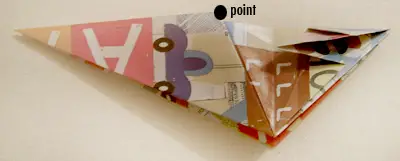
22. Fold one side inward as shown. There is no guide for this part; do it as much or as little as you like. It will be the back legs of the kitty. Repeat on other side.
23. Fold tip upwards as shown. This creates the tail of the kitty. I line it along the bottom edge of the legs.

* I fold it along the red line (imaginary in real life) as a guide- it is a straight line.

Finishing Touches
24. Open up the front part of the kitty as shown
25. Fold the tip of the face under a tad to create a rounder face.

26. Push the front legs out a little so that your kitty can stand on its own, and tada, finished!
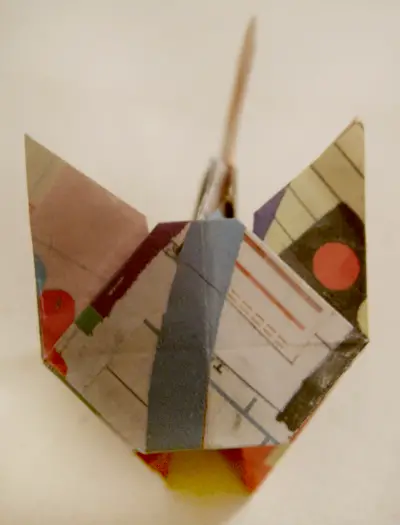
Now you can say, “today I learned how to make a kitty origami!” Meow!